Showing posts with label pipe cleaners. Show all posts

Easter Table Chicks

The Tiny Funnel 
A little chick to save your place at the Easter table.
Sometimes, when I photograph my crafts, food etc. I get a little theme song for the image or the craft stuck in my head.
This one is "Stand" an R.E.M. favorite.

"Stand in the place where you live
Now face North
Think about direction
Wonder why you haven't before
Now stand in the place where you work..."

Materials:

*Wooden Eggs (they come blank or already painted white at Michael's)
*White paint (or white wooden eggs)
*Paint and brushes
*Paint pens- White and Black and maybe orange? 
I like the Sharpie brand- either oil or water based or the Moltow Acyrlic
*Pipe cleaners – about 2” long
*Not shown- white glue

Use a thumb tack to make a hole in the top of the egg.
 
Paint the eggs white so that the (next) colors are bright; then allow the paint to dry.

Use a pencil to draw on the wings and the features. 

Paint the main part of the body; let it dry (use a hair dryer if you’re impatient like me) then paint the wings and allow everything to dry completely before adding the small details.

Yes - I painted over the small details like the face but not the wings.

You can still see the drawing under the paint.
Paint the wings and let everything dry.

Outline the wings with a paint marker- that space between colors can be wonky and the marker adds a nice finished touch even if the paint lines are uneven.
Add the small details with paint pens.
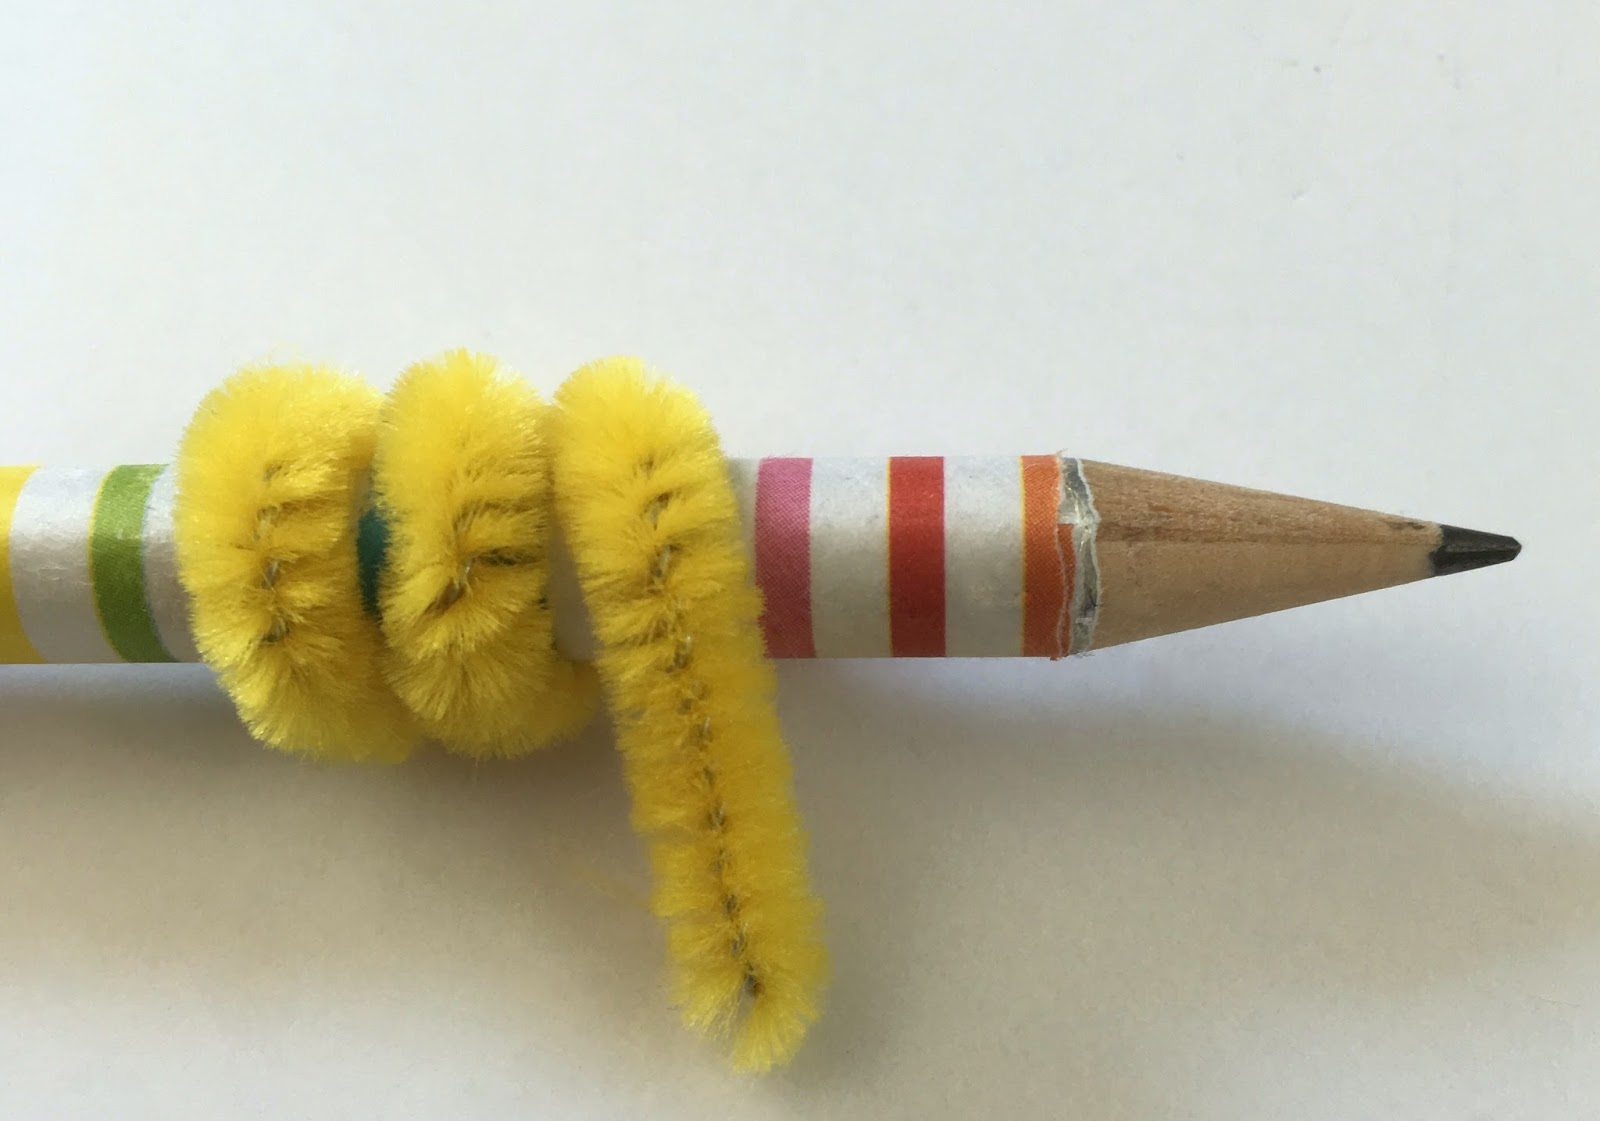
Curl the pipe cleaner around a pencil, then add a dab of glue to the end before sticking it into the hole.
 
Let the glue dry for a bit so the pipe cleaner will stay in the hole.

Add the name card.
The Tiny Funnel

The Tiny Funnel

Joyous New Year!

The Tiny Funnel
This is number 22 of the "make an ornament a day from what I have until December 24th" challenge I gave to myself on the 1stChristmas was hectic and I didn't get a chance to post this very simple pipe cleaner word.

We start school, start work, really start the New Year schedule tomorrow. The tree will come down on Wednesday and the long haul towards Valentines day begins. A lot of people I know choose a word for their New Year- I've decide mine is joy. Just joy.

I recently read The Life-Changing Magic of Tidying Up by Marie Kondo and while I didn't do everything by the book- I have been asking myself - does this give me joy? as I hold up a stained shirt, a chipped plate and do-da gathering dust. And I'm taking that question a little further - activities, friends and work.

What gives you joy?

Christmas Tree Ornaments

The Tiny Funnel

A tree for a tree! Or maybe an alternative to the mini bottle brush trees that are so popular right now.  I’m still trying to use only what I have on hand (sorry Joann's and Michael’s) and I made a beautiful mini garland last fall for a job and have a LOT of left over tulle. The key to these trees is tying, twisting and trimming the tulle.
The Tiny Funnel
Materials:
Tulle on a roll (10 yards)-I used 3” wide tulle from Joann Fabrics but you could also use 6“ wide
Pipe Cleaner- sparkly is harder to work with than regular pipe cleaners-but not impossible
Wooden bead
Decorations- Adhesive jewels, glitter, sequins etc.

Wrap all the tulle around a book or folder – I used a 12” wide folder but anything that’s around that width will work.
Cut along both edges to make 6" long strips of tulle.

Tie an open knot with the length of tulle.
Slip the loop over the pipe cleaner about 2 inches up the pipe cleaner length then tighten the loop.
Some people (like me) tie the knot directly onto the pipe cleaner and other people (like my mom) make the knot before. Your choice.

Repeat the tulle knots with rest of the tulle lengths and push the knots together every so often.
Trim the top off the pipe cleaner and make a little loop around a marker or pencil and trim off the extra.
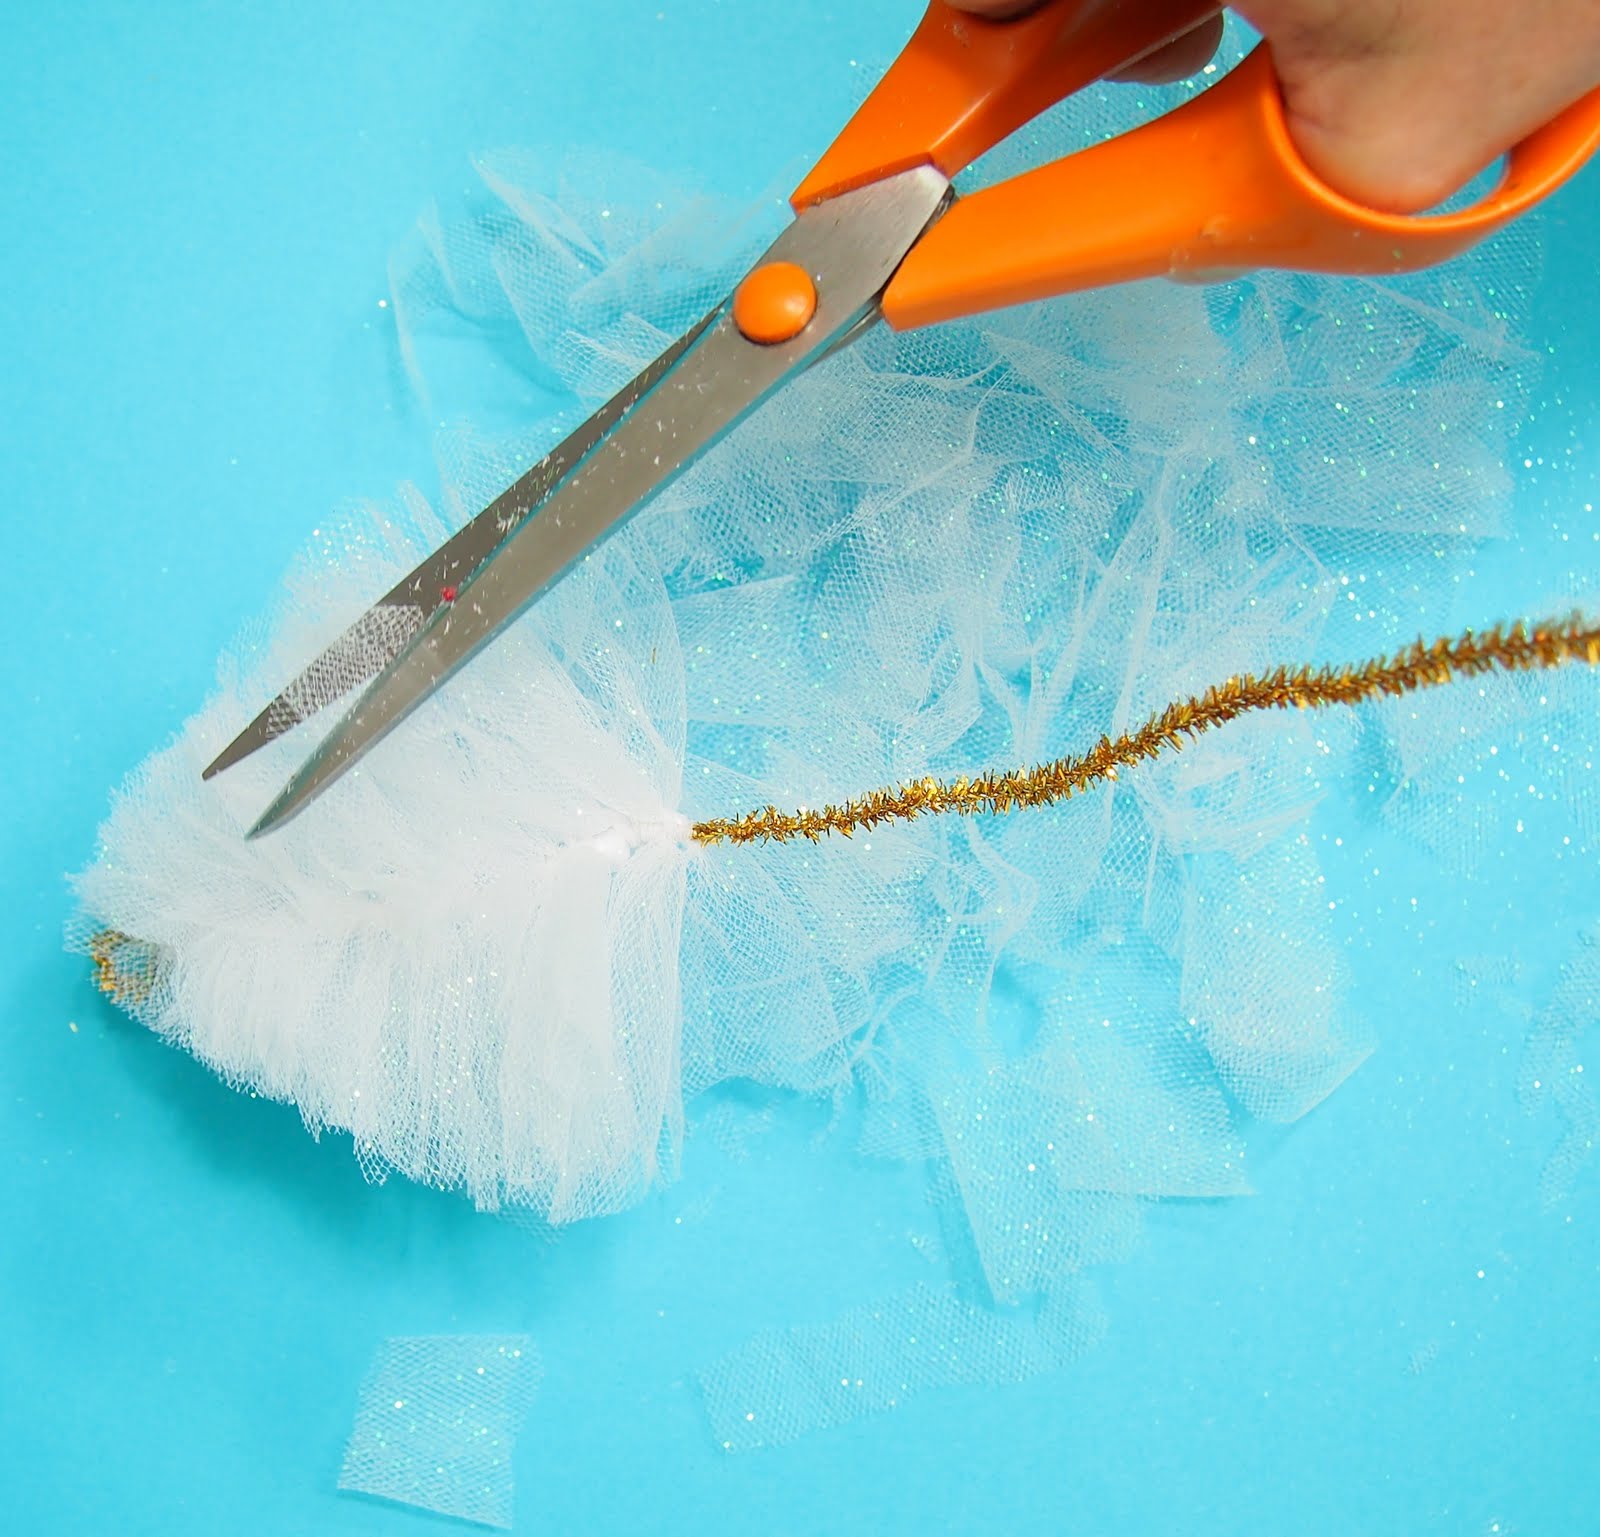
Now have fun trimming the tree with scissors- it’s like giving a poodle a hair cut (I have a poodle).
Trim the tulle shorter on the top and wider on the bottom.
Start slowly and turn the tree around as it is trimmed.
 

When the trimming is finished, trim the pipe cleaner bottom about 2 inches long and bend it until it fits in the hole of the bead (or trim it more if necessary).
The Tiny FunnelAdd adhesive jewels or sequins etc.
Here are the mini pompom tulle garlands- they were never published but I love them.
 The Tiny Funnel

Borax Christmas Ornaments

The Tiny Funnel
I tested borax crystals for a work project awhile back and I've always wanted to make an ornament using the process. I've seen versions that use colored or tinsel pipe cleaners but I kept this simple and stuck with white pipe cleaners.
Materials:
Borax- from laundry section of the grocery store --I used 20 Mule Team Borax Laundry Booster
Container- preferably one that is heat resistant such as a Pyrex measuring cup/bowl or a plastic bucket but not thin un-tempered glass
Hot water
Measuring cups
Wire cutters or nail clippers
12-inch pipe cleaners
Thin wire or paper clip
Dowel, pencil or chop stick
First, make the pipe cleaner shape-use the wire cutters or nail clippers* to cut the pipe cleaners into sections and twist them together to make a fun shape- or go simple and make a squiggle. I used pipe cleaners cut in half, twisted together, trimmed and looped.
*tip: nail clippers work well for kids to use to trim pipe cleaners

Cut a piece of wire, or unfold a paper clip and thread it through a loop, then hang the pipe cleaner shape from a dowel, pencil or chop sick suspended across the container.

Adjust the paper clip length to make sure the pipe cleaner shape doesn’t rest on the bottom or touch the sides but rather- hangs in the middle of the container.

Set it aside.
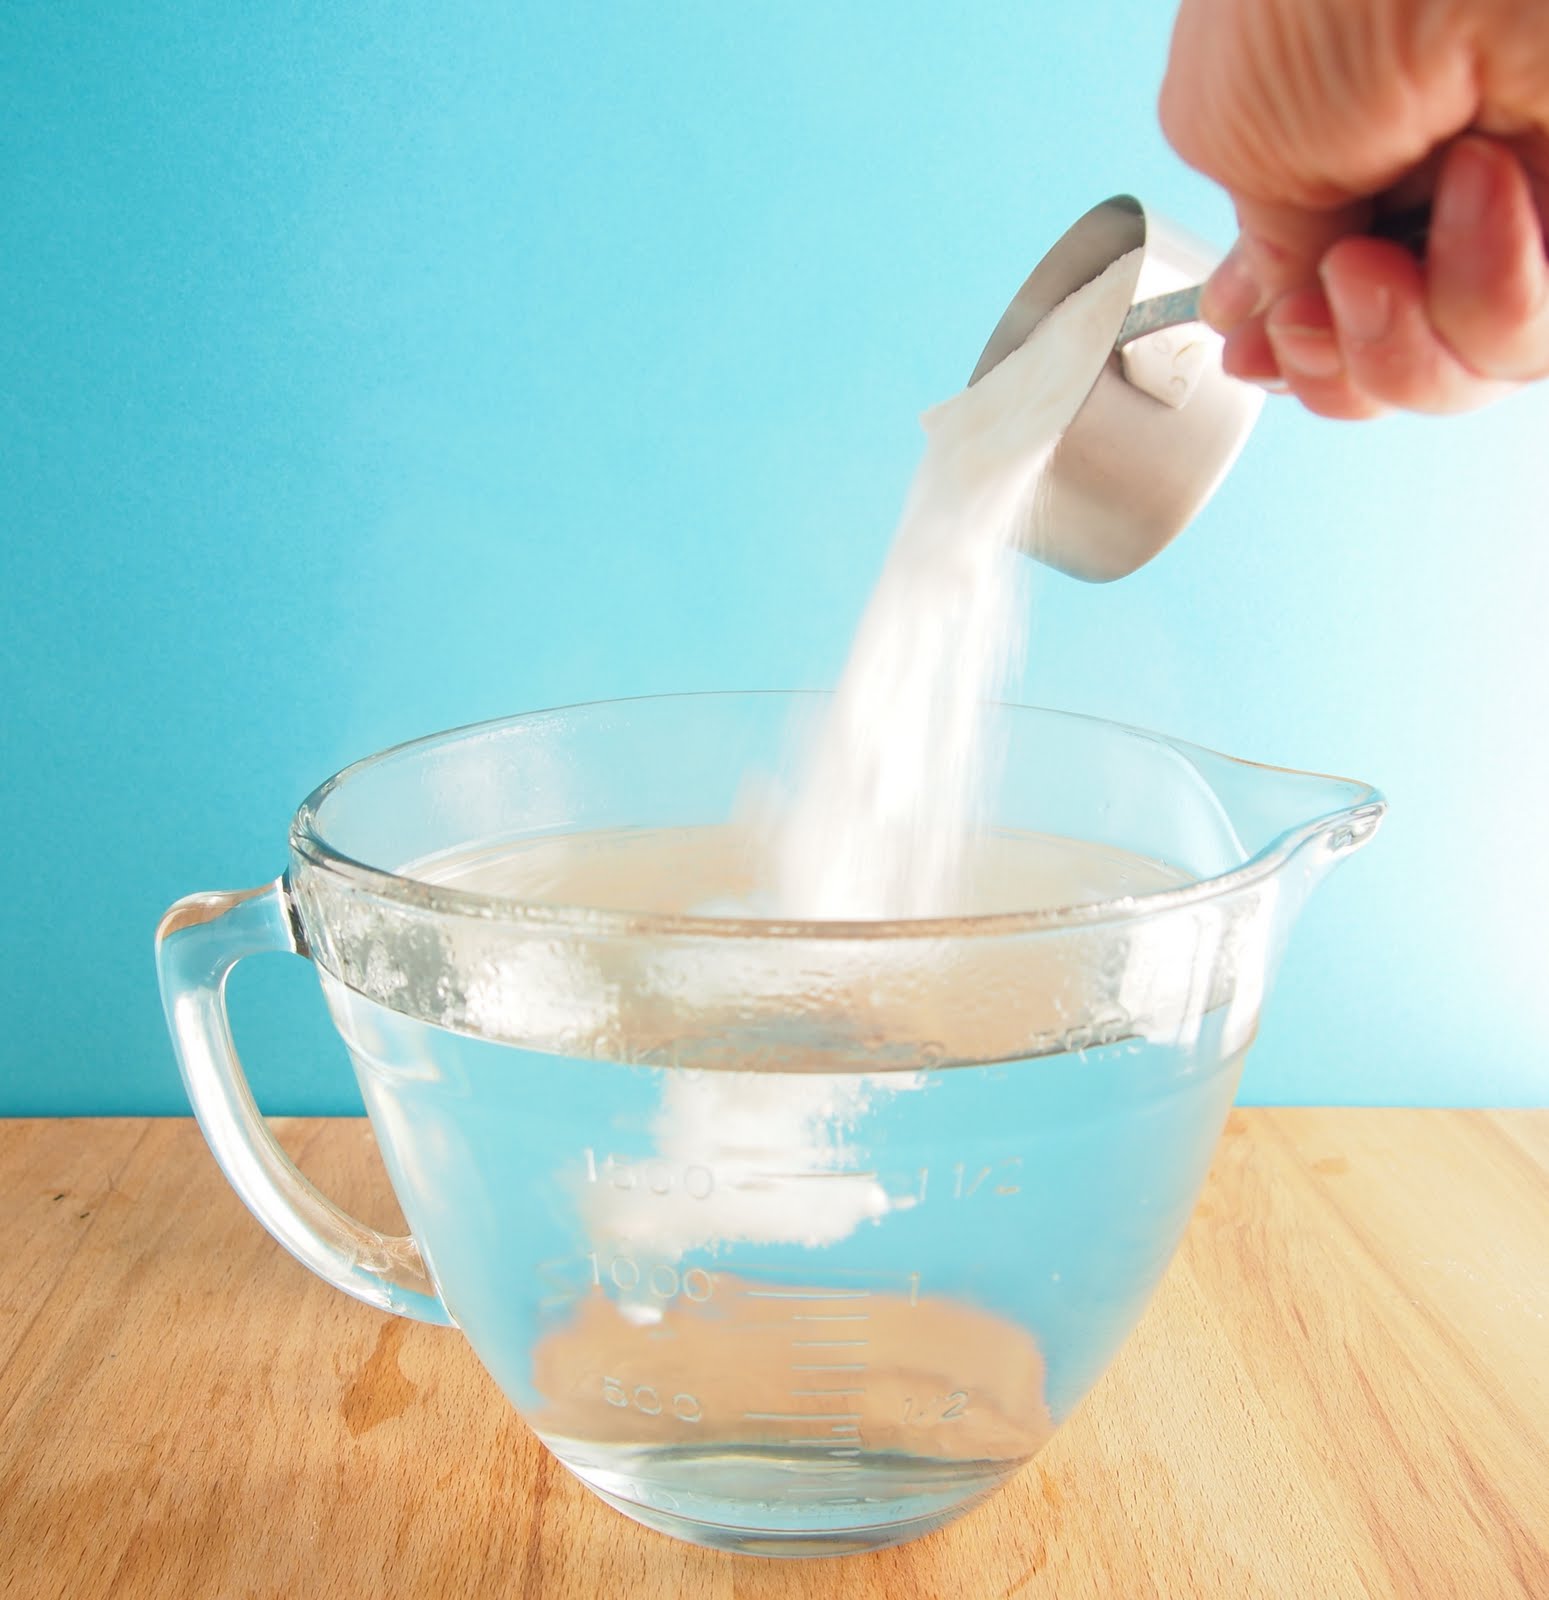
Add 3 tablespoons of borax for each cup of water used - dissolve the borax completely in very hot water. I used 8 cups of water and 1.5 cups (24 tablespoons) of borax in our big Pyrex measuring bowl (I've made big snowflakes in a white bucket with the same proportions). Whisk the borax in the water until it's dissolved.


Rest the stick across the top of the container with the pipe cleaner shape completely submerged in the solution.

Crystals form in 6 to 8 hours- overnight they were huge!
Remove the crystal shape and allow to dry.
The Tiny Funnel
The borax solution can be reheated but add more borax to make more crystals. We found it easier to just start over. The empty bowl was pretty spectacular!

The Tiny Funnel Everything I've read explains that the crystals are formed when the super saturated borax water mix cools. Hot water can hold more borax than cold water because the molecules are further apart. When the borax is dissolved into the hot water to a super saturation and then the water cools, the molecules contract and move closer together. The cooling water can't hold the borax so it comes out of solution and clings to the pipe cleaners and reforms into the crystals that build on each other as the water cools.


Ribbon Spool Reindeer Ornaments

The Tiny Funnel
I was cleaning my work space today and 2 things were sitting next to each other on the work table-- an empty ribbon spool and a bent pipe cleaner. Together they looked like a reindeer with antlers --so, I pushed the idea a little and ta-da! December 13th's ornament.

You can use any size pompom for the nose and either buttons or googly eyes- play around to see what works for you. 

Materials:
Empty 3.25” cardboard ribbon spool
2 brown pipe cleaners
2 eyes -- googly eyes or black and white buttons
1.5” Wide ribbon
Pompoms
Brown card stock 

Glue dots
Glue stick

Trace around the cardboard spool, then cut 2 circles from the brown card stock.
Use glue stick to add both circles to the each side of the spool.

Twist a pipe cleaner in the ribbon channel around the spool.
Cut the second pipe cleaner into 4 equal sections.

Twist one 1/4 pipe cleaner section around each of the twisted pipe cleaner ends to make the antlers.
 

Add the button eyes and pompom nose with glue dots.
 

Tie the wide ribbon into a bow then add it to the bottom of the spool.
 

Tie a string to hang the ornament around the pipe cleaner.

The Tiny Funnel

Paper Straw Ornaments (Geometric Shapes)

The Tiny Funnel
I have several ideas for paper straw ornaments but I love these tiny graphic shapes I made for work a while back- I really want to start with them. 

Materials:
Pipe cleaners
Paper straws


Yup- that's it!
Cut the straws into the same lengths for each shape- whether its 1.5 inches, 2 inches or 3 inches.
Bend a pipe cleaner into 1
inch sections - three "mountains" for a tri-straw connection or four "mountains" for a 4 straw-connection (cube). Trim the excess pipe cleaner.
Squeeze and bend the pipe cleaner mountains into three legs or four legs.
Slip the paper straw sections over the pipe cleaner legs.
Angle the "legs" to construct cubes or pyramids or other shapes.


Hang the shapes separately or nest and hang them inside each other.
If they start to come apart- add a dab of Aleen's tacky glue to the pipe cleaner ends and reassemble- allow to dry completely.

The Tiny Funnel

Witch Heads

 The Tiny Funnel
Last winter I worked on a few crepe paper projects for work. I thought it would be fun to make an ice cream cone surprise ball- you know that kind that has small treats and candies rolled into it? The ice cream cone idea didn’t go any further but as I was working, I “saw” it upside down and it looked like a witch's head! 

The Tiny Funnel


NOW it’s finally Halloween time and I made few witch head surprise balls. I think they could work for a party or just maybe as special treats for family members.
Here’s how I made it:

Materials:
Black card stock
Crepe paper(green)
Googly eyes
Pipe cleaner
Aleen’s Tacky Glue
Stapler
Glue Stick
Clear Tape
10”-12” paper plate
5" lid or compass

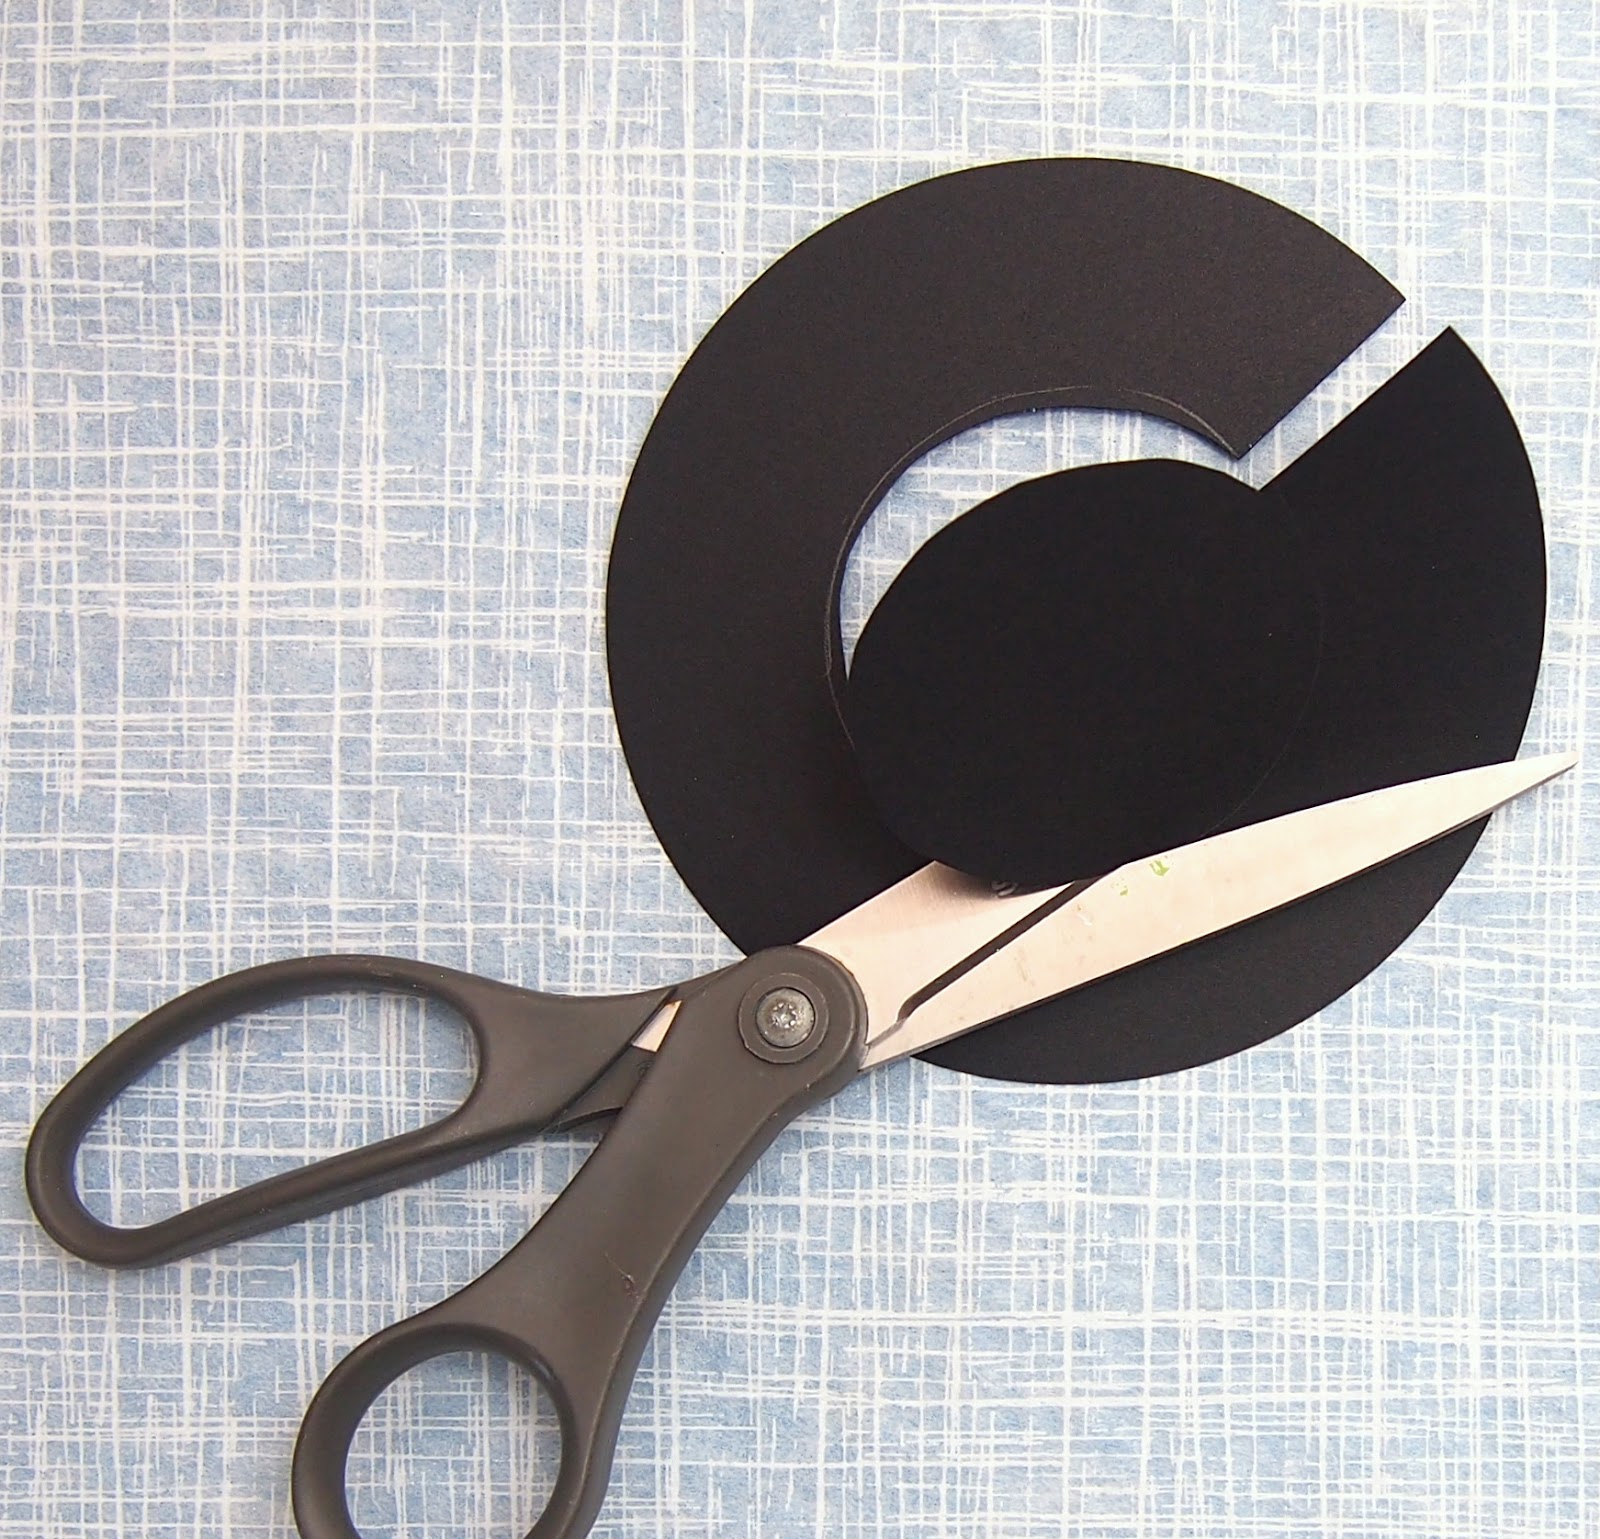
Trace then cut a 5” diameter card stock circle.
Fold the paper plate in half.
Trace the half circle onto the card stock then cut it out.

Roll the half circle into a cone and staple the edge in place.
Set the cone on the center of the 5” circle (the brim) and trace around the cone bottom, and then cut out the center.

Tape the slit in the circle back together.
Set the cone down into the hole and line up the taped slit with the stapled edge.
Add a line of tacky glue were the circle edge meets the cone. Set aside and allow to dry.
Fold the 4" pipe cleaner in half and twist it about .5“ from the ends –set aside.
Start the witches head by rolling the crepe paper around the largest treats and treasures (and most special) then add the more flat candies closer to the outside of the ball.

Secure the end with glue stick.
It's really okay if the balls are misshapen-so are witches heads.
Tape the nose on with clear tape and add crepe paper around it and over the head again- (glue stick to helps hold the crepe paper in place). I imagine you could try just twisting some paper and taping it on but I wanted a hook in the nose.
When the brim connection glue is completely dry, trim off any excess paper from the cone.
Trace around where the hat will sit on the witch's head and add glue just inside the line.
Set the hat on the head.

Add the eyes and the pipe cleaner mouth with tacky glue.
Then put the head in a cup to hold it up while everything dries.

The Tiny Funnel

The Tiny Funnel