Showing posts with label Christmas. Show all posts

Holiday Tradition Tree

The Tiny Funnel

The Holiday Tradition Tree is a custom I started when my son was very little. I made several trees for work but they were never published so they floated around our home for awhile until I settled on one and it slowly became the Holiday Tree.

At Christmas it gets little ornaments, at Thanksgiving-- thankfulness leaves, at Halloween- bats (obviously) and at Easter - little chicks.

You could put any number of different things on it year round: origami birds, fabric flowers, twinkle lights etc.

Materials:

  • Branch(es) about 24" tall with lots of little twigs coming off of them
  •  A saw (I won mine in an Instructables contest)
  • Wood glue
  • A wood base: a wood plaque from the craft store works really well; they even have natural wood slice bases now
  • Drill and bits (size depends on branch bottom diameter)
  • Scrap wood surface to drill into (just in case)
  • Wax paper
  • Optional: Paint (spray or acrylic and a brush)

Determine the depth of the wood base - you will not need to drill through the bottom.

Gauge the diameter of the branch(es) being added to the base and select the corresponding sized drill bit.


Put a piece of painters tape around the drill bit to show how deep to drill (i.e. not all the way through the base).

In some cases, the wood bases already have a hole drilled into them for lamps but in general, it will not be the size needed to fit the bottom of the branch.
 

Hold the branches where they will sit and be aware that you might need to have the things balance later (i.e. put a second branch in).

On a protected surface, such as a piece of scrap wood, drill all the holes.
Set the base on wax paper and add a dab of glue into the hole.
Add a dab of glue to the branch bottom and stick it into the hole.


Repeat with the other branches if more are being used.

When the glue is completely dry, spray paint the whole tree or set your children to painting it by hand with acrylic paint.

You can paint it
white (or a color) or leave it natural - both white or natural will work for all the holidays and seasons.

The Tiny Funnel

Morse Code Beaded Wrap Bracelet

The Tiny Funnel
This simple Morse code necklace/bracelet is an easy gift to whip up for the holidays, Mother’s Day or a friend’s birthday.

The Tiny Funnel

Materials:
  •  3 different kinds of beads: one for dashes, one for dots and one for spaces
  • Bead Thread (3 ply) I used about 40” for my necklace/bracelet
  • Super Glue or nail polish


If you’re creating a length that’s more than four lines of prose, you’ll need at least 50” of string but if you’re making a shorter saying, such as “I love you”, consider repeating it for the full 40”.


I chose a section from TS Eliot’s Four Quartets. Your message could say anything from “I love you” to “Hey, I made this cool thing for you!”
Regardless of what you decide to say, do a search on the internet for a Morse code translator-- there are several sites out there --then copy the code words into a word document and print it out.

Create a “needle” by covering one end of the string with super glue. It should dry quickly and stiff and the beads will slide onto the string easily.
 

Add a small bit of tape at the other end of the string so the beads don’t fall off then start  adding the beads to make the message.


I lost my place after about 10 characters; I recommend crossing the characters off in sections once they are on the string.
If the string is not full when the words are done - add the “space” beads at either end of the string before tying it off.

Leave about a .25” of extra space on the string when the knot is tied so that the beads are not under tension when the length is twisted into a bracelet later.
Tie the ends in a square knot - right over left, left over right and then add a dab of super glue to the knot to secure it and trim the ends.The Tiny Funnel
The beads can be worn as a necklace or wrapped around the wrist as a bracelet. If you have more advanced jewelry making skills, add clasps and crimps on the end fastenings.

Felt Holiday Wreath

Tthe Tiny Funnel
Every pine wreath we've had on our door has dried to a brittle crisp needle losing mess within days of getting it - it gets too hot between our front door and the outside glass door so this year I decided to make a felt wreath that we can use for years to come.

This is an extremely easy craft but it is not for the faint of heart. It takes a bit of time to make it so-- sit down with the pot of tea or bottle of wine and binge watch Stranger Things for an evening to make this incredibly easy felt wreath.

Materials
White felt sheets or 1/2 yard of felt

12" Wreath box frame
Felt balls or pom-poms* Thread & needle


Optional: Rotary cutter

You can buy half yard of premium white felt on the bolt or just use sheets...it’s less expensive to buy the bolt felt.

I tried a lot of different ways to cut  felt ribbons. I even tried to make a ball of ribbon by cutting in a fancy one strip.

At the end of the day, I found that cutting strips with scissors or a rotary cutter is the easiest way to get what I needed for this project.

Just sit down and cut a lot of .5" wide strips.


You can cut long strips and then make them shorter or if you’re using felt sheets -just cut them into 9” strips (the width of the sheet).

Fold the strip in half.


Loop it around the wire on the wreath form and then thread the ends back through the loop to connect it to the wire.


Give it a GENTLE pull.


That’s it! Just do it over and over and over.


You could add pom-poms or wool balls*- I attached mine with white thread but glue would work too.


The Tiny Funnel
Add a red felt bow and you’re done!

*I bought this felt pom-pom necklace from the Paper Source a couple years ago and it was SO itchy—I never wore it. I set it aside thinking I’d do a craft with it someday. I couldn’t find it anywhere when I went to make this wreath. Luckily I found some felt pom-poms at Michael’s.


Wooden Spoon Christmas Light Garland

The Tiny Funnel
Materials:

Disposable wood spoons- these are from Amazon- 100/pk. for $7.29
Acrylic paint
Yarn
Yarn needle
White glue
Small brush
 

On a protected surface, paint the back of the spoon bowl (use the handle to hold the spoon).
Set aside and let dry completely.

Gently cut the handles off of the bowls with a pair of kitchen scissors; leave about 3/8” to 1/2“ uncut on top of the spoon bowl.
I actually found it easier to use regular scissors- less cracking.

Add a dab of glue to the painted front top edge.

Wrap yarn around the edge and tie it off in back.
The Tiny Funnel
Allow the glue to completely dry.

String the “lights” by running a needle threaded with yarn through the back of the wrapped yarn on each spoon.


The Tiny Funnel 

The Edge of December

The Tiny Funnel
I've been working quite bit this November (and had no time to post) but there is a big blank work horizon in December with lots of time to make Christmas crafts and snacks. This little cake house is what I'm working on this week---here at the edge of December.
Goodbye November.

Borax Christmas Ornaments

The Tiny Funnel
I tested borax crystals for a work project awhile back and I've always wanted to make an ornament using the process. I've seen versions that use colored or tinsel pipe cleaners but I kept this simple and stuck with white pipe cleaners.
Materials:
Borax- from laundry section of the grocery store --I used 20 Mule Team Borax Laundry Booster
Container- preferably one that is heat resistant such as a Pyrex measuring cup/bowl or a plastic bucket but not thin un-tempered glass
Hot water
Measuring cups
Wire cutters or nail clippers
12-inch pipe cleaners
Thin wire or paper clip
Dowel, pencil or chop stick
First, make the pipe cleaner shape-use the wire cutters or nail clippers* to cut the pipe cleaners into sections and twist them together to make a fun shape- or go simple and make a squiggle. I used pipe cleaners cut in half, twisted together, trimmed and looped.
*tip: nail clippers work well for kids to use to trim pipe cleaners

Cut a piece of wire, or unfold a paper clip and thread it through a loop, then hang the pipe cleaner shape from a dowel, pencil or chop sick suspended across the container.

Adjust the paper clip length to make sure the pipe cleaner shape doesn’t rest on the bottom or touch the sides but rather- hangs in the middle of the container.

Set it aside.
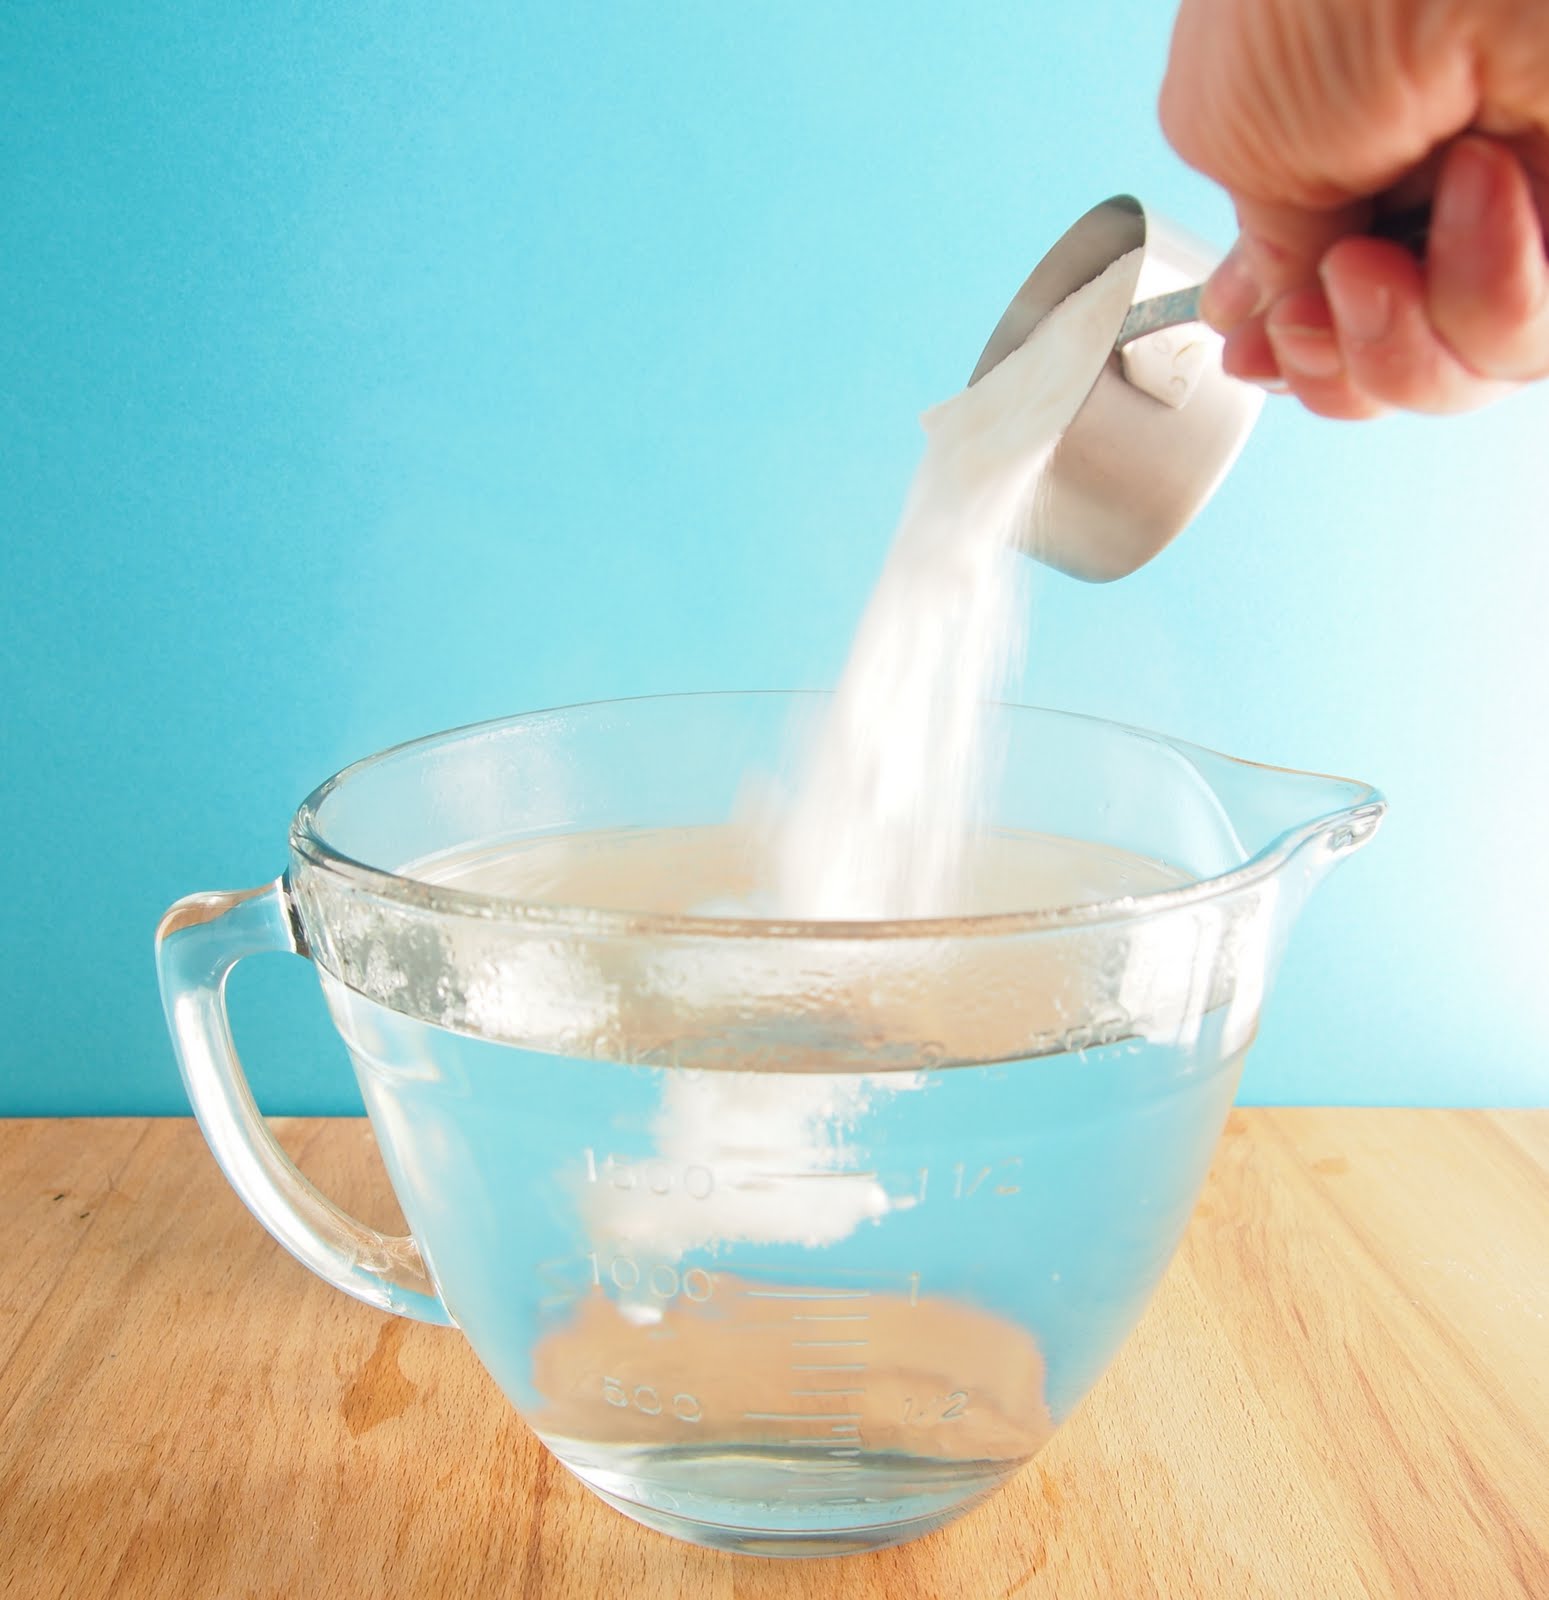
Add 3 tablespoons of borax for each cup of water used - dissolve the borax completely in very hot water. I used 8 cups of water and 1.5 cups (24 tablespoons) of borax in our big Pyrex measuring bowl (I've made big snowflakes in a white bucket with the same proportions). Whisk the borax in the water until it's dissolved.


Rest the stick across the top of the container with the pipe cleaner shape completely submerged in the solution.

Crystals form in 6 to 8 hours- overnight they were huge!
Remove the crystal shape and allow to dry.
The Tiny Funnel
The borax solution can be reheated but add more borax to make more crystals. We found it easier to just start over. The empty bowl was pretty spectacular!

The Tiny Funnel Everything I've read explains that the crystals are formed when the super saturated borax water mix cools. Hot water can hold more borax than cold water because the molecules are further apart. When the borax is dissolved into the hot water to a super saturation and then the water cools, the molecules contract and move closer together. The cooling water can't hold the borax so it comes out of solution and clings to the pipe cleaners and reforms into the crystals that build on each other as the water cools.


Glitter Letter Ornaments

The Tiny Funnel
It's the 3rd of  December and for today's easy ornament we're using the plastic magnetic letters that have been floating around the house for years. Somehow, they never were completely thrown away and have been holding up pictures and recipes on the refrigerator and hanging out in the drawer with the batteries.

Materials:
Plastic (magnetic) letters
Mod Podge
Glitter(I prefer fine glitter)
1/2" screw eyes (or larger)
String
Small paper plates to catch the glitter
The Tiny Funnel
Make a hole with a  push pin.
Then either:
1. Enlarge the hole with screw eye (it's easier to grab and turn) or 
2. Add a small screw eye as a hanger.
Either way, the screw eye makes a great holder so you can cover the letter with Mod Podge and then add (i.e. pour) the glitter.
Allow to dry completely, then unscrew the big eye screw and thread a knotted loop through the hole to hang or leave the small screw eye in and add a hanger.
The Tiny Funnel
Maybe spell something on the tree? Merry Christmas! Or the kids names or initials? Or turn them into a garland message-Happy New Year!