Last winter I worked on a few crepe paper projects for work. I thought it would be fun to make an ice cream cone surprise ball- you know that kind that has small treats and candies rolled into it? The ice cream cone idea didn’t go any further but as I was working, I “saw” it upside down and it looked like a witch's head!
NOW it’s finally Halloween time and I made few witch head surprise balls. I think they could work for a party or just maybe as special treats for family members.
Here’s how I made it:
Materials:
Black card stock
Crepe paper(green)
Googly eyes
Pipe cleaner
Aleen’s Tacky Glue
Stapler
Glue Stick
Clear Tape
10”-12” paper plate
5" lid or compass
Trace then cut a 5” diameter card stock circle.
Fold the paper plate in half.
Trace the half circle onto the card stock then cut it out.
Roll the half circle into a cone and staple the edge in place.
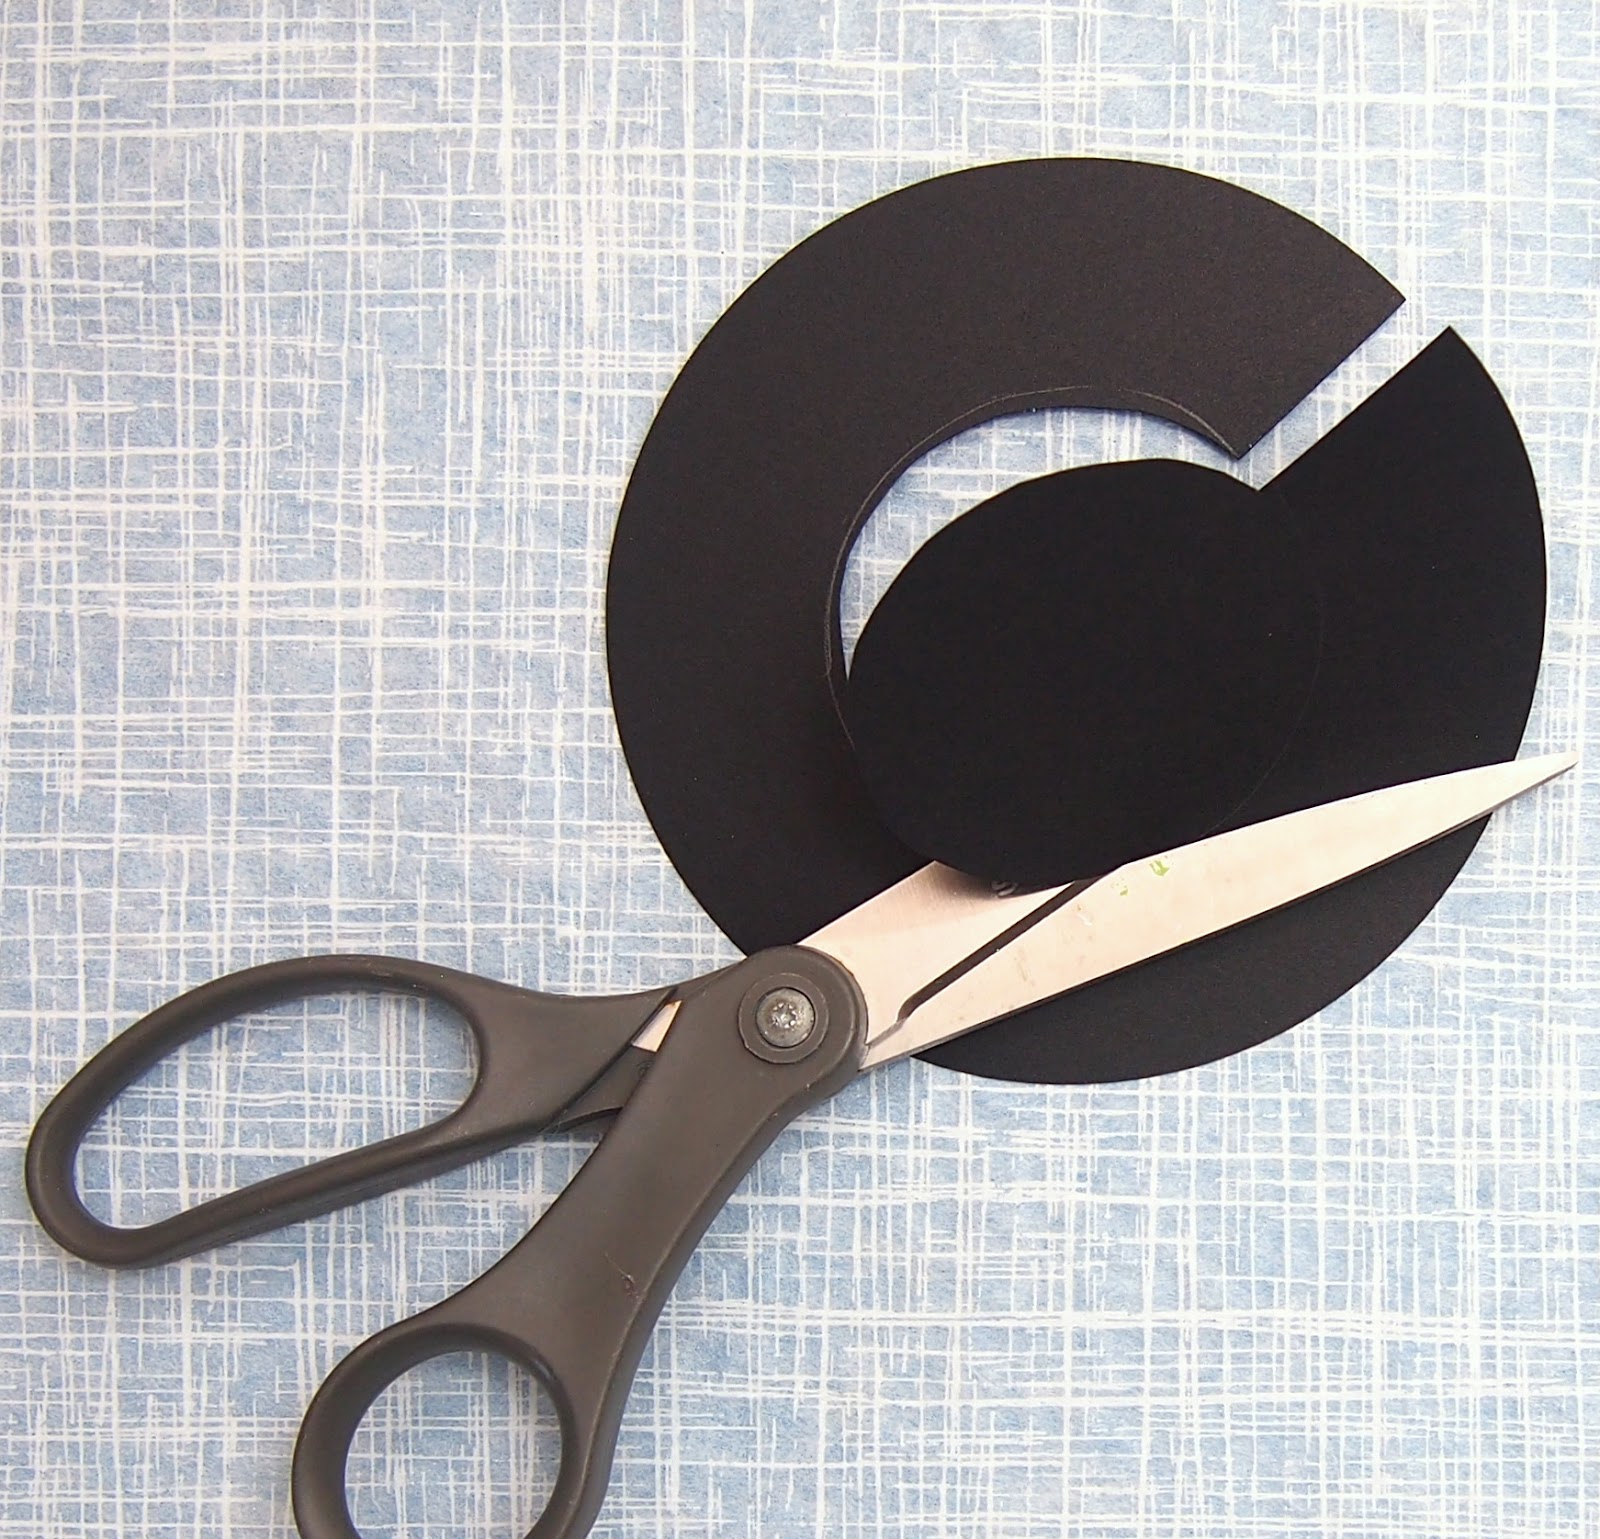
Set the cone on the center of the 5” circle (the brim) and trace around the cone bottom, and then cut out the center.
Tape the slit in the circle back together.
Set the cone down into the hole and line up the taped slit with the stapled edge.
Add a line of tacky glue were the circle edge meets the cone. Set aside and allow to dry.
Fold the 4" pipe cleaner in half and twist it about .5“ from the ends –set aside.
Start the witches head by rolling the crepe paper around the largest treats and treasures (and most special) then add the more flat candies closer to the outside of the ball.
Secure the end with glue stick.
It's really okay if the balls are misshapen-so are witches heads.
Tape the nose on with clear tape and add crepe paper around it and over the head again- (glue stick to helps hold the crepe paper in place). I imagine you could try just twisting some paper and taping it on but I wanted a hook in the nose.
When the brim connection glue is completely dry, trim off any excess paper from the cone.
Trace around where the hat will sit on the witch's head and add glue just inside the line.
Set the hat on the head.
Add the eyes and the pipe cleaner mouth with tacky glue.
Then put the head in a cup to hold it up while everything dries.