Showing posts with label Beads. Show all posts

Morse Code Beaded Wrap Bracelet

The Tiny Funnel
This simple Morse code necklace/bracelet is an easy gift to whip up for the holidays, Mother’s Day or a friend’s birthday.

The Tiny Funnel

Materials:
  •  3 different kinds of beads: one for dashes, one for dots and one for spaces
  • Bead Thread (3 ply) I used about 40” for my necklace/bracelet
  • Super Glue or nail polish


If you’re creating a length that’s more than four lines of prose, you’ll need at least 50” of string but if you’re making a shorter saying, such as “I love you”, consider repeating it for the full 40”.


I chose a section from TS Eliot’s Four Quartets. Your message could say anything from “I love you” to “Hey, I made this cool thing for you!”
Regardless of what you decide to say, do a search on the internet for a Morse code translator-- there are several sites out there --then copy the code words into a word document and print it out.

Create a “needle” by covering one end of the string with super glue. It should dry quickly and stiff and the beads will slide onto the string easily.
 

Add a small bit of tape at the other end of the string so the beads don’t fall off then start  adding the beads to make the message.


I lost my place after about 10 characters; I recommend crossing the characters off in sections once they are on the string.
If the string is not full when the words are done - add the “space” beads at either end of the string before tying it off.

Leave about a .25” of extra space on the string when the knot is tied so that the beads are not under tension when the length is twisted into a bracelet later.
Tie the ends in a square knot - right over left, left over right and then add a dab of super glue to the knot to secure it and trim the ends.The Tiny Funnel
The beads can be worn as a necklace or wrapped around the wrist as a bracelet. If you have more advanced jewelry making skills, add clasps and crimps on the end fastenings.

Be-ad Mine Valentine?

The Tiny Funnel
Are you a romantic at Valentines time? I’m really not and instead have always liked Valentine’s Day as an excuse for a good word pun. Even though we don’t give Valentine cards at school anymore (too old for that) it doesn’t stop me from thinking of them. I have few that I’ve been mulling over- this is one of my favorites.
Be-ad mine?
Maybe it’s an excuse to make and wear a wooden bead necklace?


When it comes to school Valentines – or any mass making- I usually use a typed out saying and have my child write his name separately. We use to get the list waaaay in advance and spend several long (painful) afternoons carefully making and writing all the Valentines cards. And the dilemma of candy vs. no candy.
Enough of that.

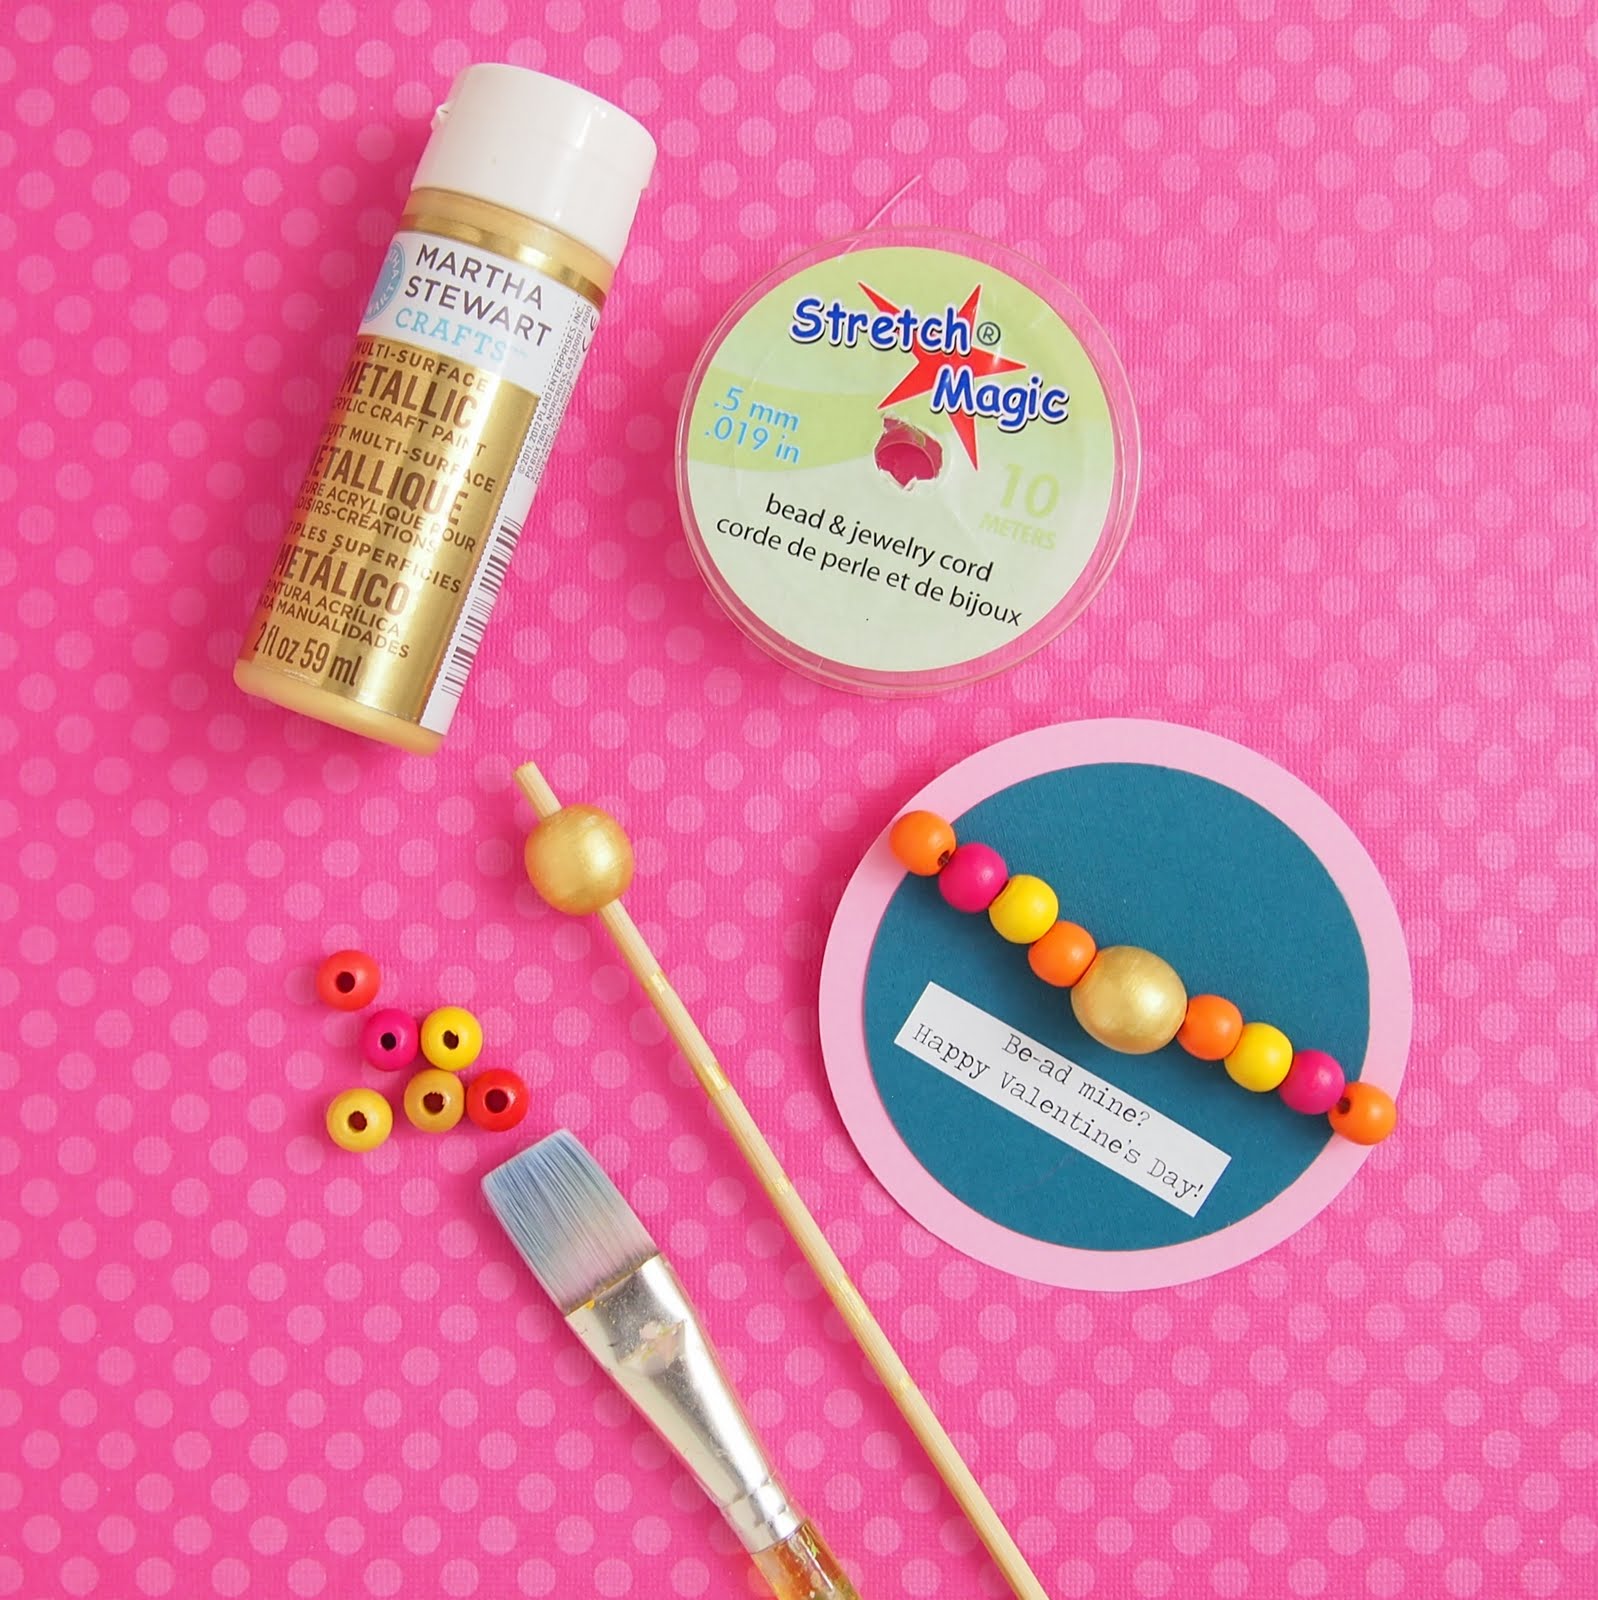
You can buy all of the materials (beads, string and paint) for these simple bead Valentines at the craft store including the colored wooden beads.

Use a heavy duty string and a ”split” ring for the backpack zipper pull (or key chain).The Tiny Funnel
If you want custom colored beads, I recommend using a small dowel- or even better, a small paint brush handle to hold the bead while it's being painted. I started with a yellow bead as the base for the “gold” beads.

Use Stretch Magic (stretchy string) for the bracelet.

The Tiny Funnel

The Tiny FunnelAnd for the necklace- use a strong string and make sure to tie the length so that is slips easily over a child's head (made that mistake once at Halloween with too-small bat necklaces).

The Tiny Funnel

Squam Blossoms for Squam Art Workshops


I understand now why the lure of a Squam Art Workshops retreat is so great. It holds the sisters I never had, the neighbors I wish I had, and the friends I long for. I think some people are lucky-they experience change and connection in their first retreat. It's took me 4 tries. Yes, I'm a late bloomer and a very shy one at that.
My time at the last fall Squam was different from previous visits.  I felt real acceptance from the women in my cabin that I had previously only seen there, but not experienced. It felt like I finally, finally met women who understand what I’m going through:  how to engage and remain true to myself and not always pull to the needs and lure of others and to nurture what is creative and original in myself.  I know now what it is like to have a "tribe" at Squam, to ask a hard question and have it answered, to offer a heart with openness.

It is rare to be in such fine company.
I don’t see them often but I keep up with their lives in Facebook and Instagram and would like to see them there again.

Elizabeth Duvivier, the amazing woman who started Squam Art Workshops posted a contest to use up to the leftover bags from previous workshops: make anything with the bag, include the logo and win a spot! There is a second prize of a $500 gift certificate towards a workshop that is running through Instagram. So I entered.
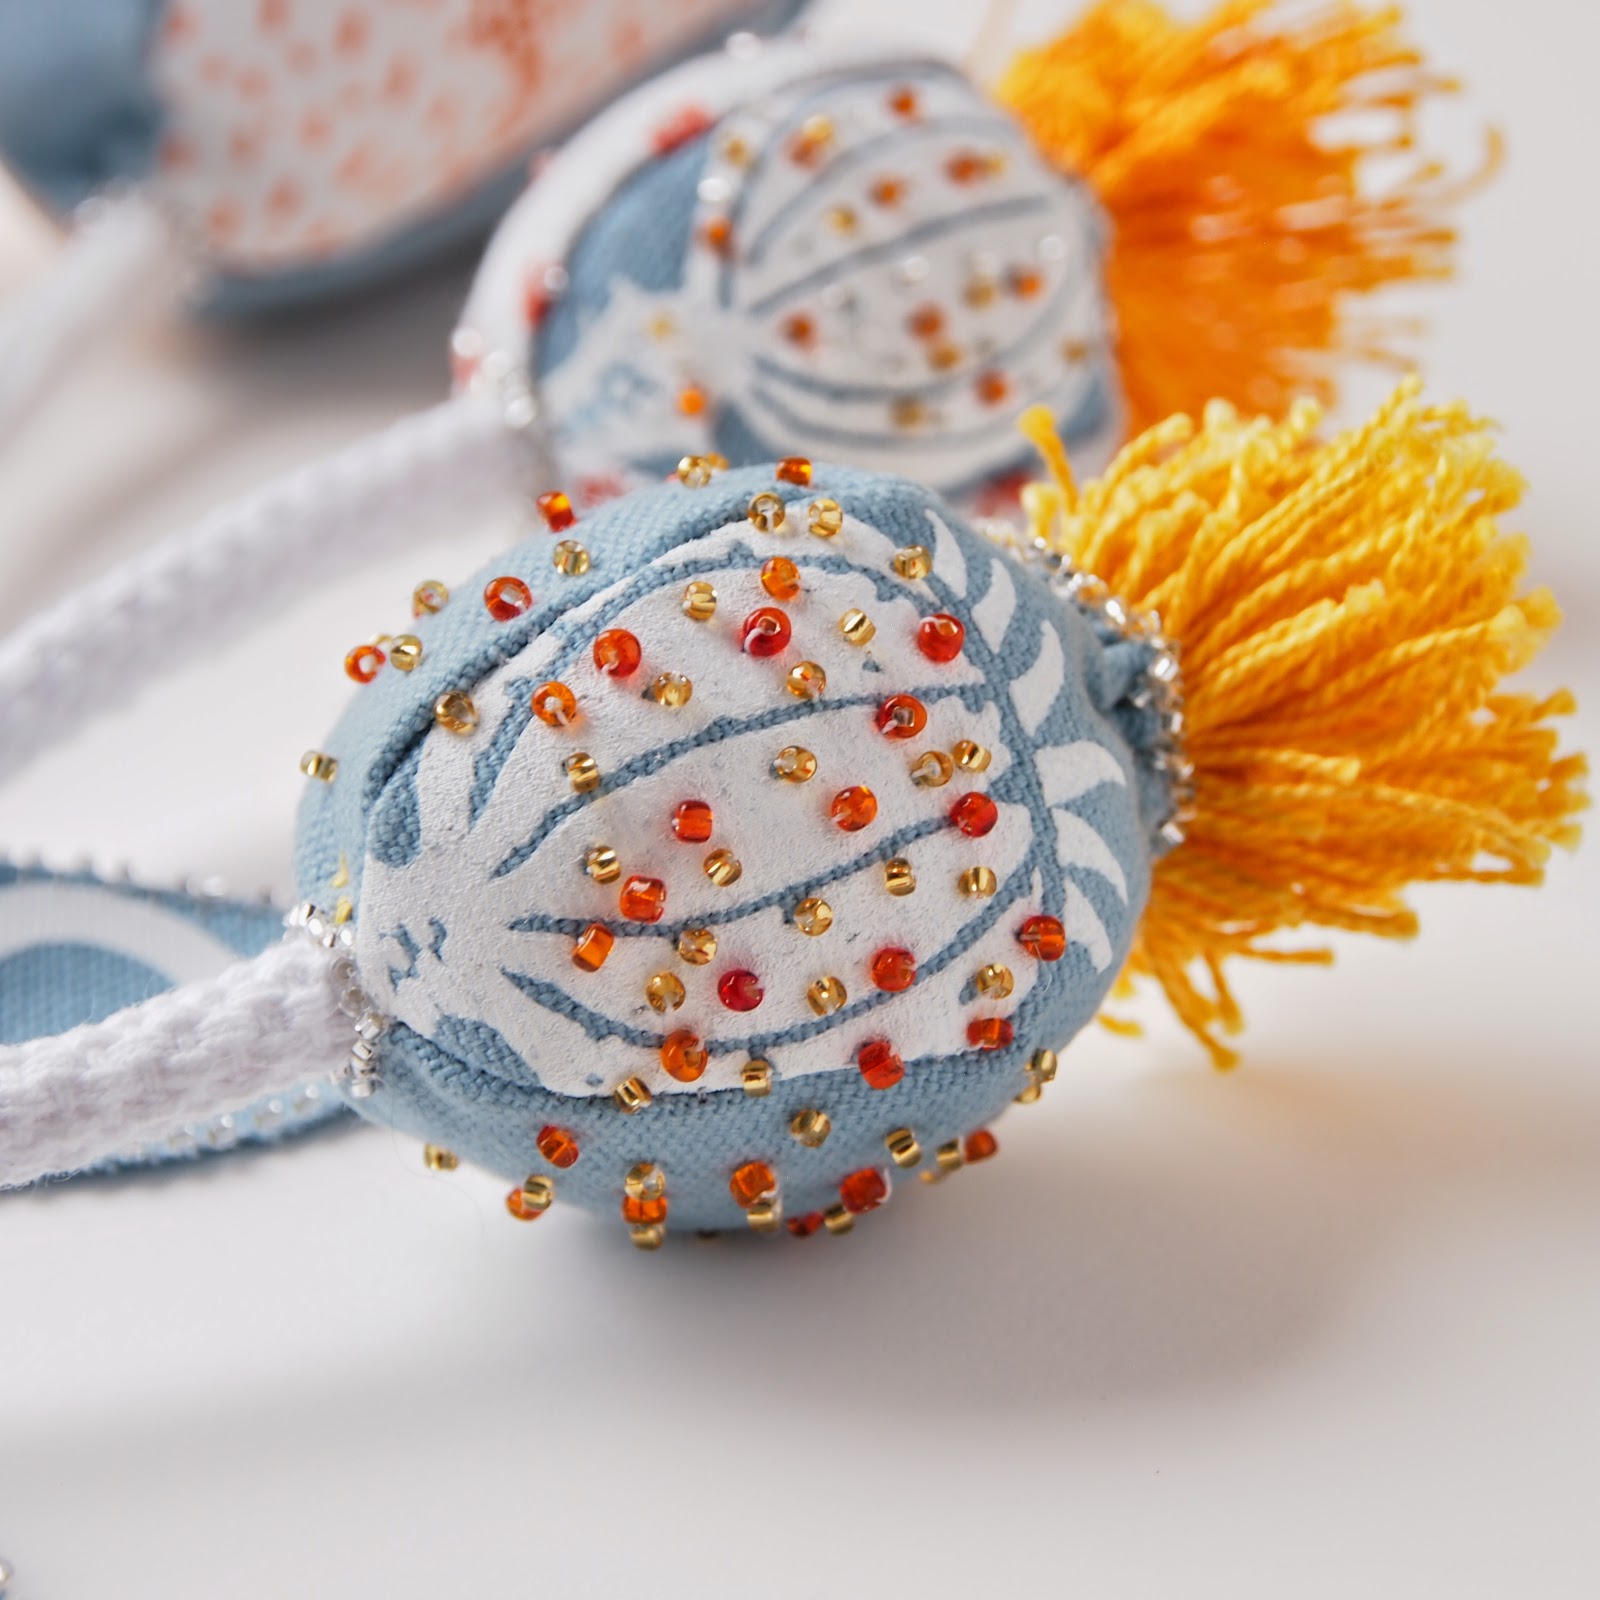
Here is my project – I call them Squam Blossoms. I used the handles of the bag for the stems and the printed flowers for the buds.


You can also see the other amazing entries at #TotesSquam.


Sock Doughnuts (and Pin Cushions)


I made these fun sock doughnuts as play food for pretend play (for work awhile back) but I've been using a leftover one as a pin cushion. I decorated more than a dozen doughnuts with puffy paint BUT as a potential Mothers Day present you could use bugle beads as "jimmies" instead to fancy them up. The process for the doughnut base is the same.


Materials: 
2 socks (or 1 knee sock)
Scribbles 3D paint (puffy paint) or bugle beads
Needle & thread


Cut the toes off the socks.
Turn the socks inside out.
Put one sock inside the other (prettiest inside).

Roll the cut edge over about 1 inch and continue to roll the sock up (tuck the heel in as you roll) until the top edge flips over the doughnut.


Use an “overcast” stitch to sew the sock edge to the bottom of the doughnut. It doesn't have too be tidy- a child could do it pretty easily.


Add Scribbles 3D paint "sprinkles" and drip “frosting” to the doughnut top.
Allow the puffy paint to dry completely.


To add the bugle beads instead-make sure you choose a needle that's skinny enough to allow the beads to pass through.

Work around the doughnut- no need to tie off each bead- just shove the needle through to the next spot, add a bead and go back into the doughnut. Repeat and tie off the end on the bottom.

You could add felt frosting (sewn or glued?) if you wanted to before you add the bugle bead jimmies...an option I've not yet explored.


But it's an either/or thing- I wouldn't give a kid the one with the pins & needles to play with - right? We're giving that one to my mom with some little scissors and a box of pins.
Just sayin' in case you were worried.