Showing posts with label Felt. Show all posts

Felt Holiday Wreath

Tthe Tiny Funnel
Every pine wreath we've had on our door has dried to a brittle crisp needle losing mess within days of getting it - it gets too hot between our front door and the outside glass door so this year I decided to make a felt wreath that we can use for years to come.

This is an extremely easy craft but it is not for the faint of heart. It takes a bit of time to make it so-- sit down with the pot of tea or bottle of wine and binge watch Stranger Things for an evening to make this incredibly easy felt wreath.

Materials
White felt sheets or 1/2 yard of felt

12" Wreath box frame
Felt balls or pom-poms* Thread & needle


Optional: Rotary cutter

You can buy half yard of premium white felt on the bolt or just use sheets...it’s less expensive to buy the bolt felt.

I tried a lot of different ways to cut  felt ribbons. I even tried to make a ball of ribbon by cutting in a fancy one strip.

At the end of the day, I found that cutting strips with scissors or a rotary cutter is the easiest way to get what I needed for this project.

Just sit down and cut a lot of .5" wide strips.


You can cut long strips and then make them shorter or if you’re using felt sheets -just cut them into 9” strips (the width of the sheet).

Fold the strip in half.


Loop it around the wire on the wreath form and then thread the ends back through the loop to connect it to the wire.


Give it a GENTLE pull.


That’s it! Just do it over and over and over.


You could add pom-poms or wool balls*- I attached mine with white thread but glue would work too.


The Tiny Funnel
Add a red felt bow and you’re done!

*I bought this felt pom-pom necklace from the Paper Source a couple years ago and it was SO itchy—I never wore it. I set it aside thinking I’d do a craft with it someday. I couldn’t find it anywhere when I went to make this wreath. Luckily I found some felt pom-poms at Michael’s.


Pine Cone Ornaments

The Tiny FunnelYou saw this coming right?
In keeping with my own self imposed rules of using only what I have on hand, I’m making another plastic Easter egg ornament. But it’s one that I’ve wanted to try for a while and it’s really fast and easy- and it has GLITTER! I love glitter!
 
Materials:
Plastic Easter egg
Adhesive backed felt
Fine glitter
Clear tape
“Craft” toothbrush (doesn’t everyone have a Batman toothbrush hanging around?)
Spoon
Paper plate
Push pin (rolled under the tape in the picture)
Needle
String or ribbon 

Cut the egg apart and snip off the little hinge.

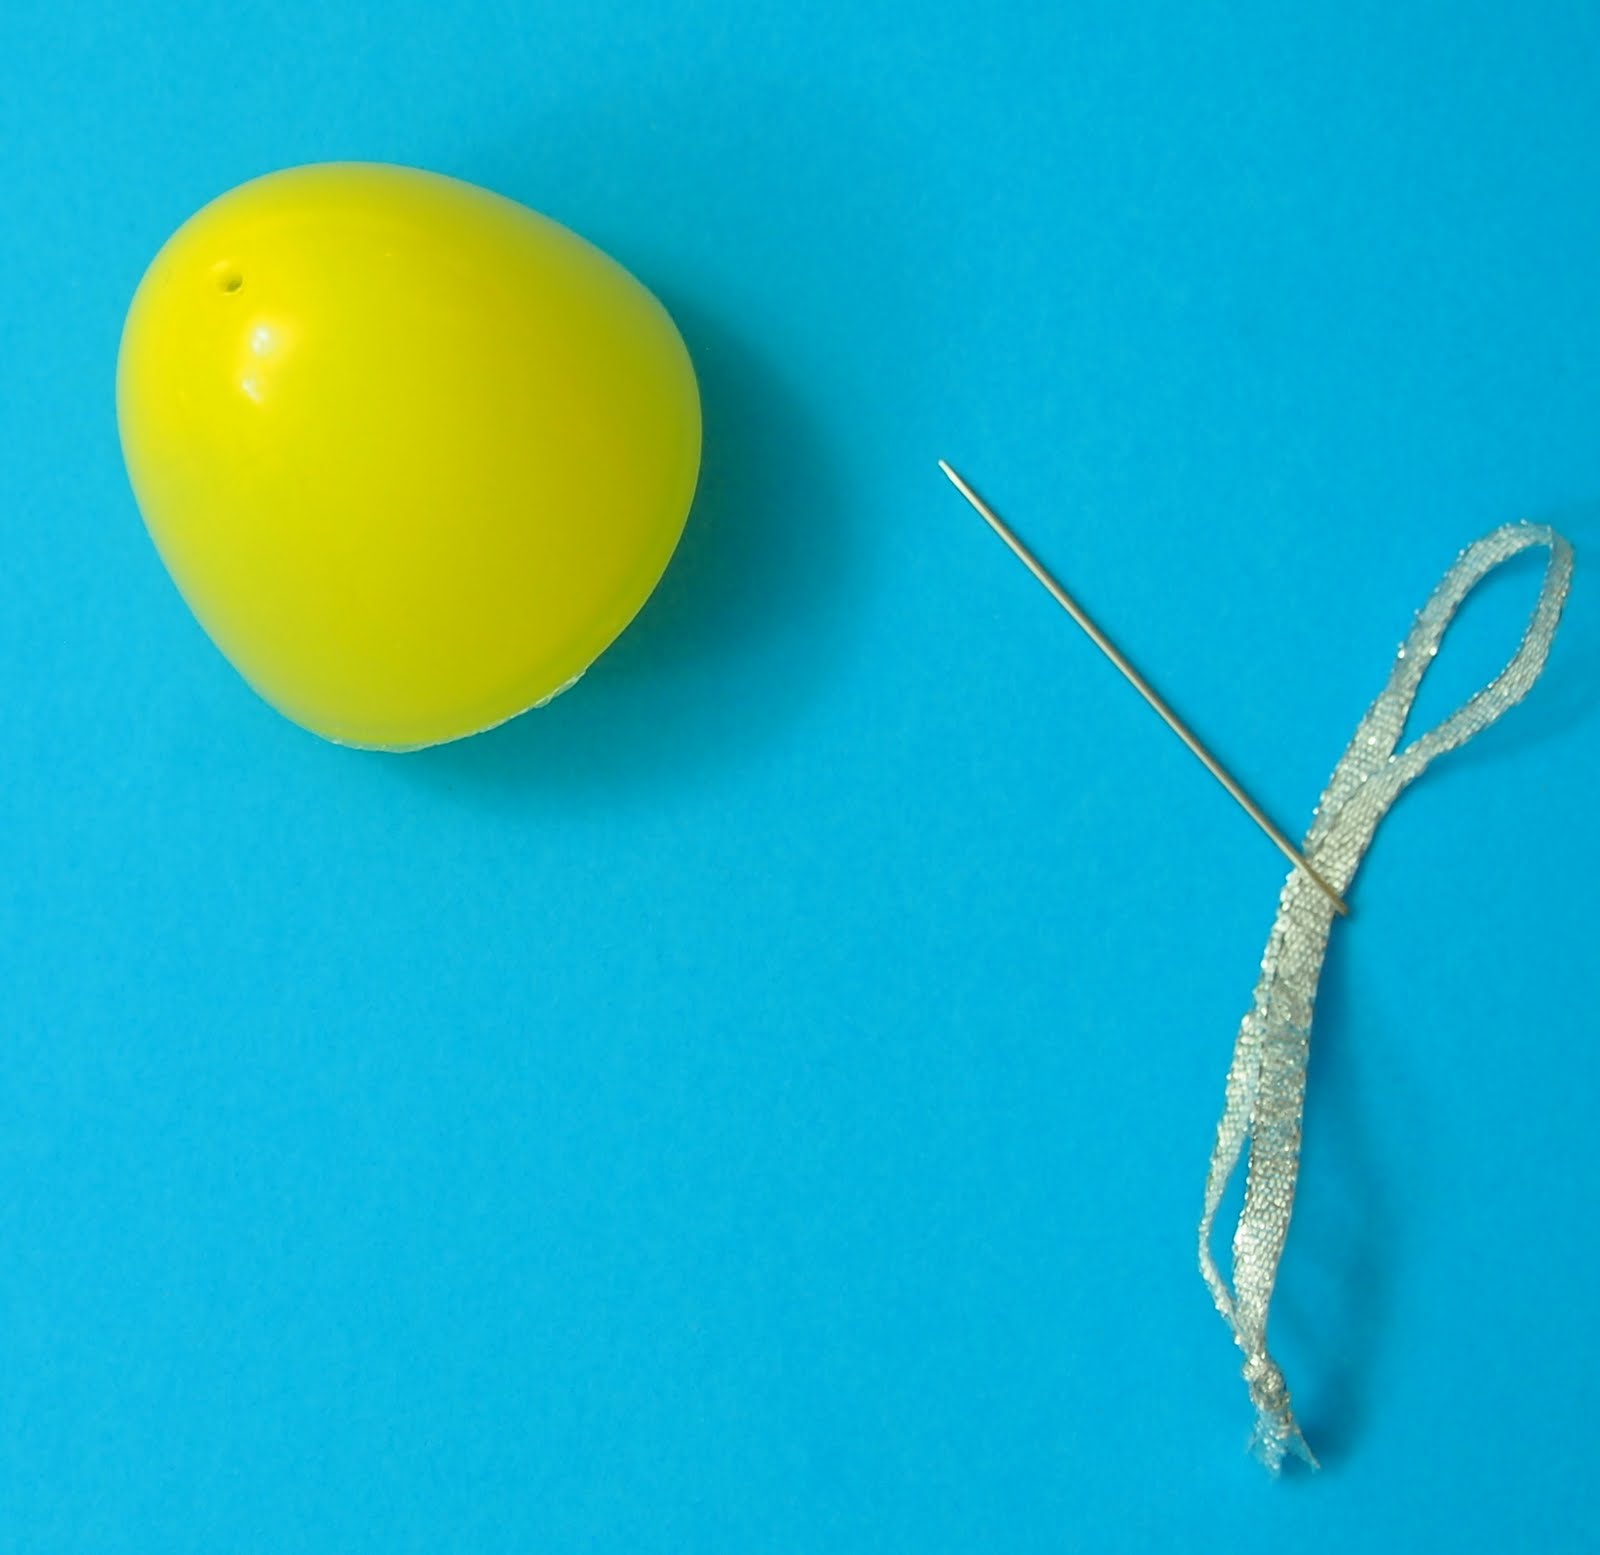
Poke a hole in the top of the plastic egg, and then widen it with a thicker needle or a toothpick
(this plastic egg had 2 off-center holes all ready in it).
Loop and knot a 9” long piece of string or ribbon and thread the loop through the needle.
Push the needle through the inside and out the top of the plastic egg and remove the needle.

Secure the egg shut with clear tape.
 

Cut a small circle of adhesive felt, then add a slit to the center, remove the paper backing and thread it around the string on the top of the egg.
Cut three and one half 12” long by 1” wide strips of adhesive backed felt.
Draw a .25” line on one edge of the paper backing on each strip.
Cut scalloped “petals” on each strip but stop at the .25 line so there is a section completely uncut.

Use small scissors-medium and larger ones are harder to maneuver.
Consider cutting one strip with slightly smaller scallops to start with at the top of the pine cone.
Peel off the paper backing.

Start at the top of the egg and add the felt strip with the scallops pointing up, slowly pressing the bottom felt edge as it moves around and down the side.
Line the uncut edge up with the bottom of the previous row.


Trim the end at the bottom.


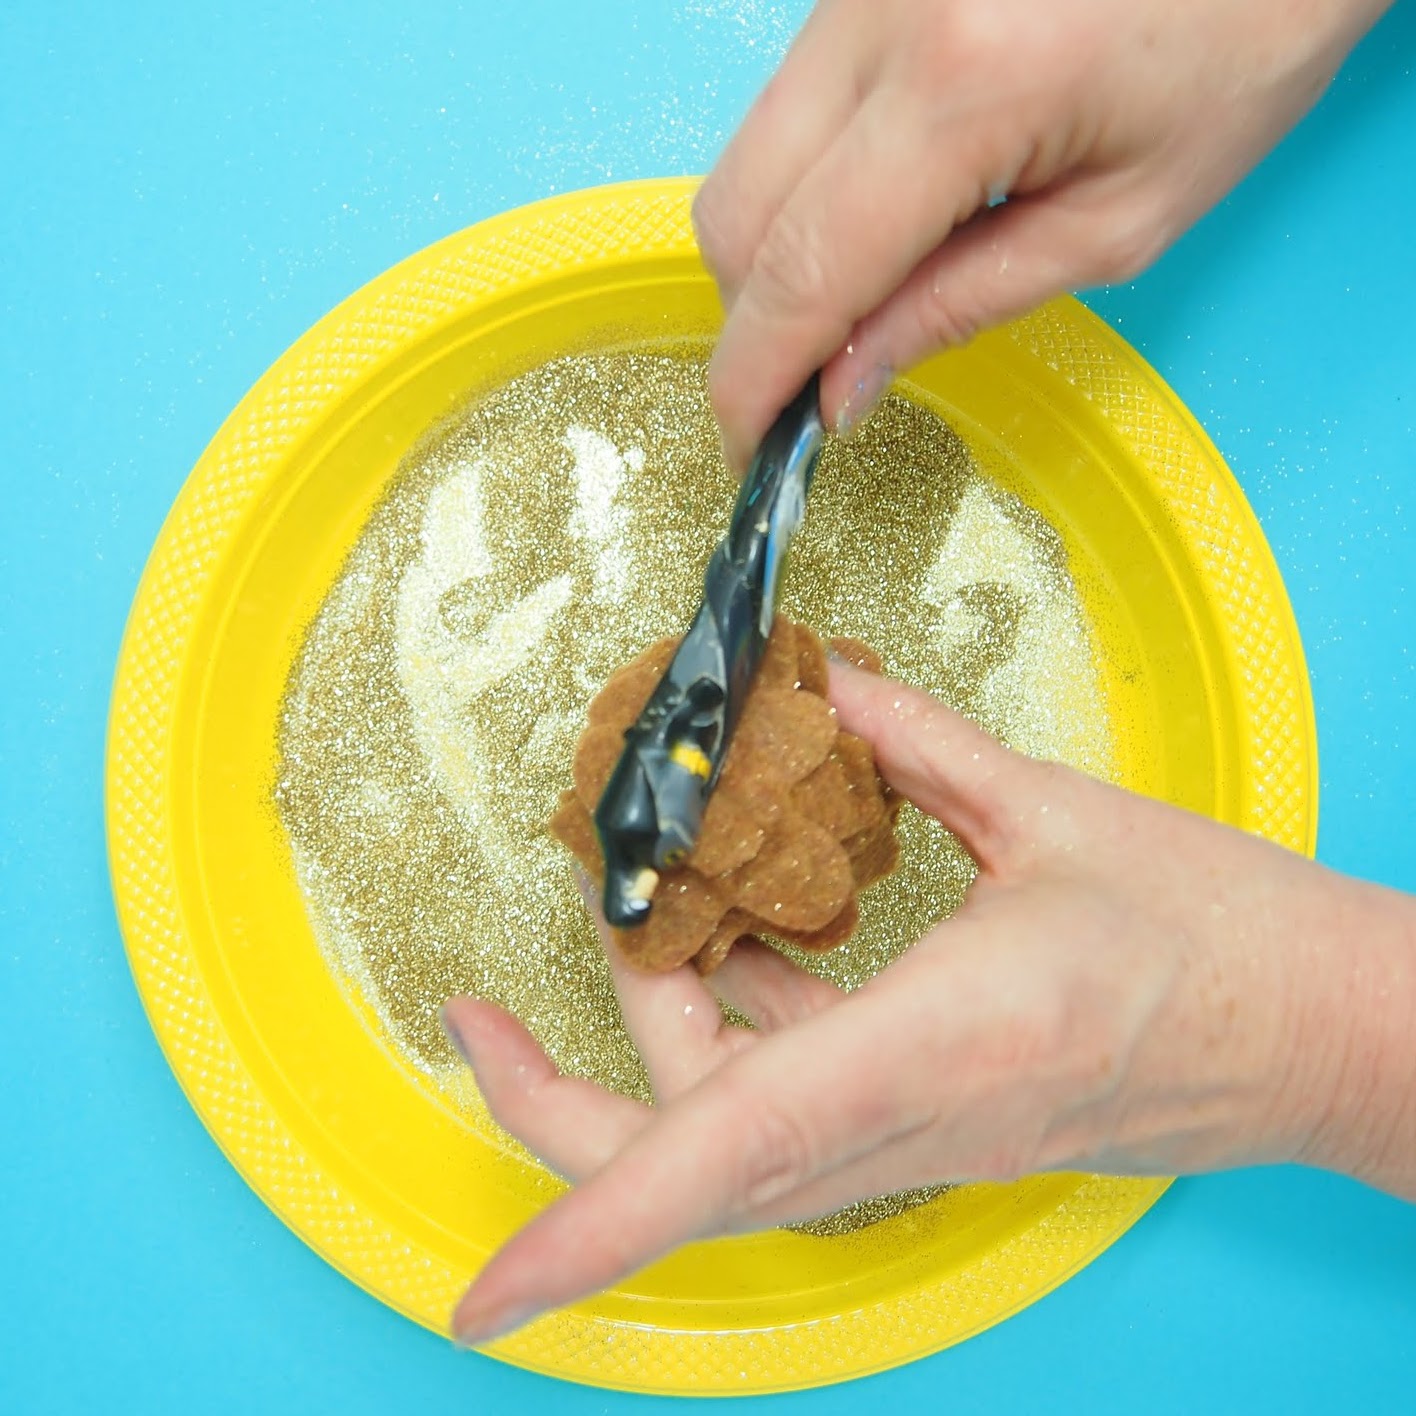
Peel back the petals a little and spoon glitter on the sticky surfaces over a paper/plastic plate.

Be enthusiastic with the glitter!
Flip the cone over and tap the bottom with handle of the craft toothbrush.
Brush the sides to encourage all the extra glitter to go back onto the plate.

So fast and pretty-try other colors too!
 

Snowy Owl Felt (plastic easter egg) Ornaments

The Tiny Funnel
The ornaments I’ve been making this month are fast, easy and use simple crafting supplies that I have on hand (and they’re supposed to fast for me to make, photograph and write up each night as well).

They’re meant to be fun activities for kids but not meant to be”keepsakes.” That’s why this owl craft uses double sided tape instead of tacky glue- I’ve found that double side tape works well in place of tacky glue for a quick project- less messy and much faster.

I’ve covered a lot of things with felt and tacky glue and it’s a great combination- like this ice candy castle I made for work a while back. It's made from cardboard boxes, Aleen's tacky glue and felt with movable candy parts.

If you want to use that combination, brush the tacky glue on the plastic egg about an .5” at a time and then press the fringed felt in place.
Materials:
Plastic Easter egg
Felt – white, grey, orange and black
Double sided tape
Clear tape
Small glue dots (or tacky glue)
Sequins (or googly eyes or plastic jewels for pupils)
Thumb tack
Needle
String or ribbon for hanging

Poke a hole in the top of the plastic egg, and then widen it with a thicker needle or a toothpick.
 

Loop and knot a 9” long piece of string or ribbon and thread the loop through the needle.
 
Push the needle through the inside and out the top of the plastic egg and remove the needle.
 

Secure the egg shut with clear tape.
Cut a 1” wide by 41” long strip of white felt.

Add .5” double sided tape to one edge of the felt then fringe the other edge up to the line of the tape.

Start at the bottom of the egg and add the taped felt, slowly pressing it as the strip moves around and up the side.


Trim the end at the top with scissors.
Add double sided tape to the back of the 2 oval white “wings”, an orange (or black) triangle beak and the two 1” grey felt circles.
Use glue dots or tacky glue to add the black circles and sequins.

The Tiny Funnnel

The Tiny Funnel

Felt Ribbon Wreath Ornaments

The Tiny Funnel
Have you ever eaten ribbon candy?

I loved it as a kid- it seemed so exotic to me. I sometimes still see it in stores and it reminds me of being little and visiting my relatives where there were treats like that we didn't have in our home- like rum balls and chocolate covered cherries.
 The Tiny Funnel

These little felt ribbon wreaths are easy to make- they might need an extra pair of hands to tie the ends off. I tried making them with regular thread but it wasn't quite strong enough- maybe double the thread or use a length of Perle cotton if you don't have filament.

Materials:
Two 36"  lengths of 1/2" wide felt strips- (2 colors plus a little scrap to make a bow)
Filament (or Perle cotton)
Needle
Glue dots (or white glue)


Cut and layer the felt strips; if you need to, overlap lengths to make long pieces.

Thread a 25" length of filament with a needle and anchor/knot it through both layers of felt at one end
Leave a 5” tail to tie off with later.

Thread the needle through the felt with a running stitch- in .5" sections.
The Tiny Funnel
Pull the filament to tighten the felt ribbons and continue until you have finished threading the length of the felt strips – you can make the wreaths bigger or smaller (though increase the width of the felt ribbon if the wreath is made larger).

Completely tighten and tie/knot (this is where a child might need help) the filament and trim.
The Tiny Funnel
Cut and tie a little felt bow and use a glue dot to add the bow to the wreath (hide the seam where the 2 ends meet).

Add a little jewel, sequin or tiny pom-pom-whatever you have.  

Attach a looped string hanger at the top.
The Tiny Funnel


It’s that time of year again! Lucky March 17th is next week and we are so ready for spring! This year we wanted to make a small trap for tiny Leprechauns. So we modified a trap I made for work a longtime ago from an oatmeal container.  (The original image has disappeared from the website but it still exists everywhere on the internet).

Apparently, leprechauns are the shoe makers for fairie folk; they have huge egos, love gold (a lot) and are also very curious and mischievous. Hopefully this hat with a gold nugget on top and an inviting ladder will be enough to catch one.

For the first try- we used a paper coffee cup but the cup slant is hard to negotiate- a cylinder is much easier to cover with felt.

The second try-we used a shortened paper towel tube but the proportions seemed a little off.

Third times a charm- just a cylinder of paper covered in felt.

Materials:
Card stock cut to 4” by 7”
Green felt
Double sided tape
Rickrack, sequins, ribbon or a felt strip- an embellishment


Ladder & Footprints

Little sticks
Hot glue
Pencil
X-acto
Stamp pad
Tin foil
Yellow marker


Our ladder measures 612" by 112" and is made by gluing little sticks on the 2 sides about every 12".
Trim the felt into a 4” by 7’” rectangle, a 214" diameter circle and a  378" diameter circle.

Roll the card stock into a cylinder shape and secure the edge closed with the double sided tape.

Add double sided tape to the paper cylinder then press the felt rectangle around the cylinder, trim off any excess.

Add the embellishment trim to the felt covered cylinder – we used double sided tape to attach the rickrack and the sequin chain on the back near the felt seam.

Trim top the felt circle so it fits perfectly on top of the cylinder.
Place the cylinder on the larger circle.

Cover a piece of tin foil with yellow marker then squish it up to make the “gold nugget.”

Carve a little shoe print into a pencil; eraser to make a tiny boot print (yeah- it's kind of wonky but it printed up fine).