Showing posts with label Christmas ornaments. Show all posts

Tetra Pak and Paper Reinforcement Snowflakes

The Tiny Funnel
Did you know that some Tetra Pak containers have smooth silver insides? They're perfect for making ornaments because they're so easy for kids (and adults) to cut.


Cut the top and bottom off a 32 ounce tetra pack (we used an empty chicken broth container).
Cut one edge and open the pack.
Wash and dry the inside.

Cut thin strips and add them to the paper reinforcements.
Make different snowflake shapes- add a corresponding paper reinforcement to the back to keep the strips in place.
That's it!

The Tiny Funnel

Rolled Magazine Paper Ornaments

The Tiny Funnel
Everyone here has been so patient as I trundle upstairs each night to "make my ornament." But it's been particularly nice to have my mom visiting and she has become indispensable as a photography, paper rolling assistant. However, we're counting the days down to the 24th - my last ornament for the year. And then, I'll take a long winters nap and maybe it will snow!

Materials:
Magazine pages
Glue stick
Cookie cutters
Ruler

Scissors
Wax paper
White glue

Glitter
Brush
Rip pages from a magazine-I've done this project with newsprint and it's very dirty so stay with colorful (but not messy) magazines.

Cut a page in half horizontally (do a better job than I did here).
The reason to cut and glue it together is that the grain of the paper makes it easier or harder to roll the paper with or without crimping.

Cut sections 2" to 4" strips depending on how tall you are making your ornament. 


1) Fold the strip in half.

2) Fold one side into the half fold line.

3) Fold the other side into the half fold line.

4) Fold and glue the two halves together.

By doing it this way - you don't see any single edges.


Tuck a rolled strip into the edges of the cookie cutter and use glue stick to close the shape. keep it in the cookie cutter while the other rolls are made and added.

To make the rolls, start at one end of a strip and make a tiny fold and then a second fold and then roll the strip. Add a second strip for a larger roll.

Add the rolls into the cookie cutter until it is filled.
Push the rolls down so they're flush with the table surface (that will be the "front").
On a piece of wax paper add a dab of white glue into between the rolls and along the outer strip of paper.
Add a little glue to the front and sprinkle some glitter (over the wax paper).

Allow the glue to dry completely before removing the ornament from the cookie cutter and adding a string to hang.


Milk Jug Snow Star Ornaments

The Tiny Funnel
A long time ago I worked for a wonderful art director who made a stunning skirt from milk jug panels cut into circles. Ever since then I've looked at milk jugs differently. Today's ornament was inspired in part by that distant memory and a chance encounter with a really cool clock while shopping for Christmas presents and I was inspired to make these snow stars.

Materials:
Template (Click on link)

Empty clean plastic milk jug
Push Pin
Adhesive jewels
Thin marker
Scissors


Optional: nail polish remover to remove marker lines if necessary


Print and cut the template out.
Cut the top section off the jug.
Cut the handle off the jug.


Cut the 4 panels off the container.
Dry the panels if they're wet.

Trace around the template onto a panel with a fine point marker.

Cut the snow stars out with scissors.
Clean the marker off with water and paper towels (or if it's more stubborn use nail polish remover).

Use a push pin to make a hole in one of the snow star's arms.

Decorate with jewels and hang your beautiful creation!


The Tiny Funnel

The Tiny Funnel

Report Cover Christmas Ornaments

The Tiny Funnel
It took 3 generations to make today’s ornament. My mom is visiting from Oregon for the holidays and we made an ornament together that we thought was awesome but when my son saw it – he said, “that’s not dynamic enough”.

The Tiny Funnel
Now it’s dynamic! This ornament is made using report covers. I really like how the light plays with the overlapping colors. 
 
Cut the one rectangle (A) that measures 3.50” by 4”.
Make a .75” border inside and cut the inner rectangle out- discard (or save for another project).
Make two .25” slits in opposite corners.
Cut a second rectangle (B) that is 4.25” by 3.75”.
Make a .75” border inside and cut the inner rectangle out- discard.
Cut a 2.5” diameter circle.
Make two .25” slits on opposite sides of the circle.
Slip the circle into the the first rectangle (A) and fit the slits into the sides.
Slip the rectangle/circle combo inside the second rectangle (B) and fit the long sides into the corner slits.
Add a hole for hanging in one corner.
The Tiny Funnel

Christmas Tree Ornaments

The Tiny Funnel

A tree for a tree! Or maybe an alternative to the mini bottle brush trees that are so popular right now.  I’m still trying to use only what I have on hand (sorry Joann's and Michael’s) and I made a beautiful mini garland last fall for a job and have a LOT of left over tulle. The key to these trees is tying, twisting and trimming the tulle.
The Tiny Funnel
Materials:
Tulle on a roll (10 yards)-I used 3” wide tulle from Joann Fabrics but you could also use 6“ wide
Pipe Cleaner- sparkly is harder to work with than regular pipe cleaners-but not impossible
Wooden bead
Decorations- Adhesive jewels, glitter, sequins etc.

Wrap all the tulle around a book or folder – I used a 12” wide folder but anything that’s around that width will work.
Cut along both edges to make 6" long strips of tulle.

Tie an open knot with the length of tulle.
Slip the loop over the pipe cleaner about 2 inches up the pipe cleaner length then tighten the loop.
Some people (like me) tie the knot directly onto the pipe cleaner and other people (like my mom) make the knot before. Your choice.

Repeat the tulle knots with rest of the tulle lengths and push the knots together every so often.
Trim the top off the pipe cleaner and make a little loop around a marker or pencil and trim off the extra.
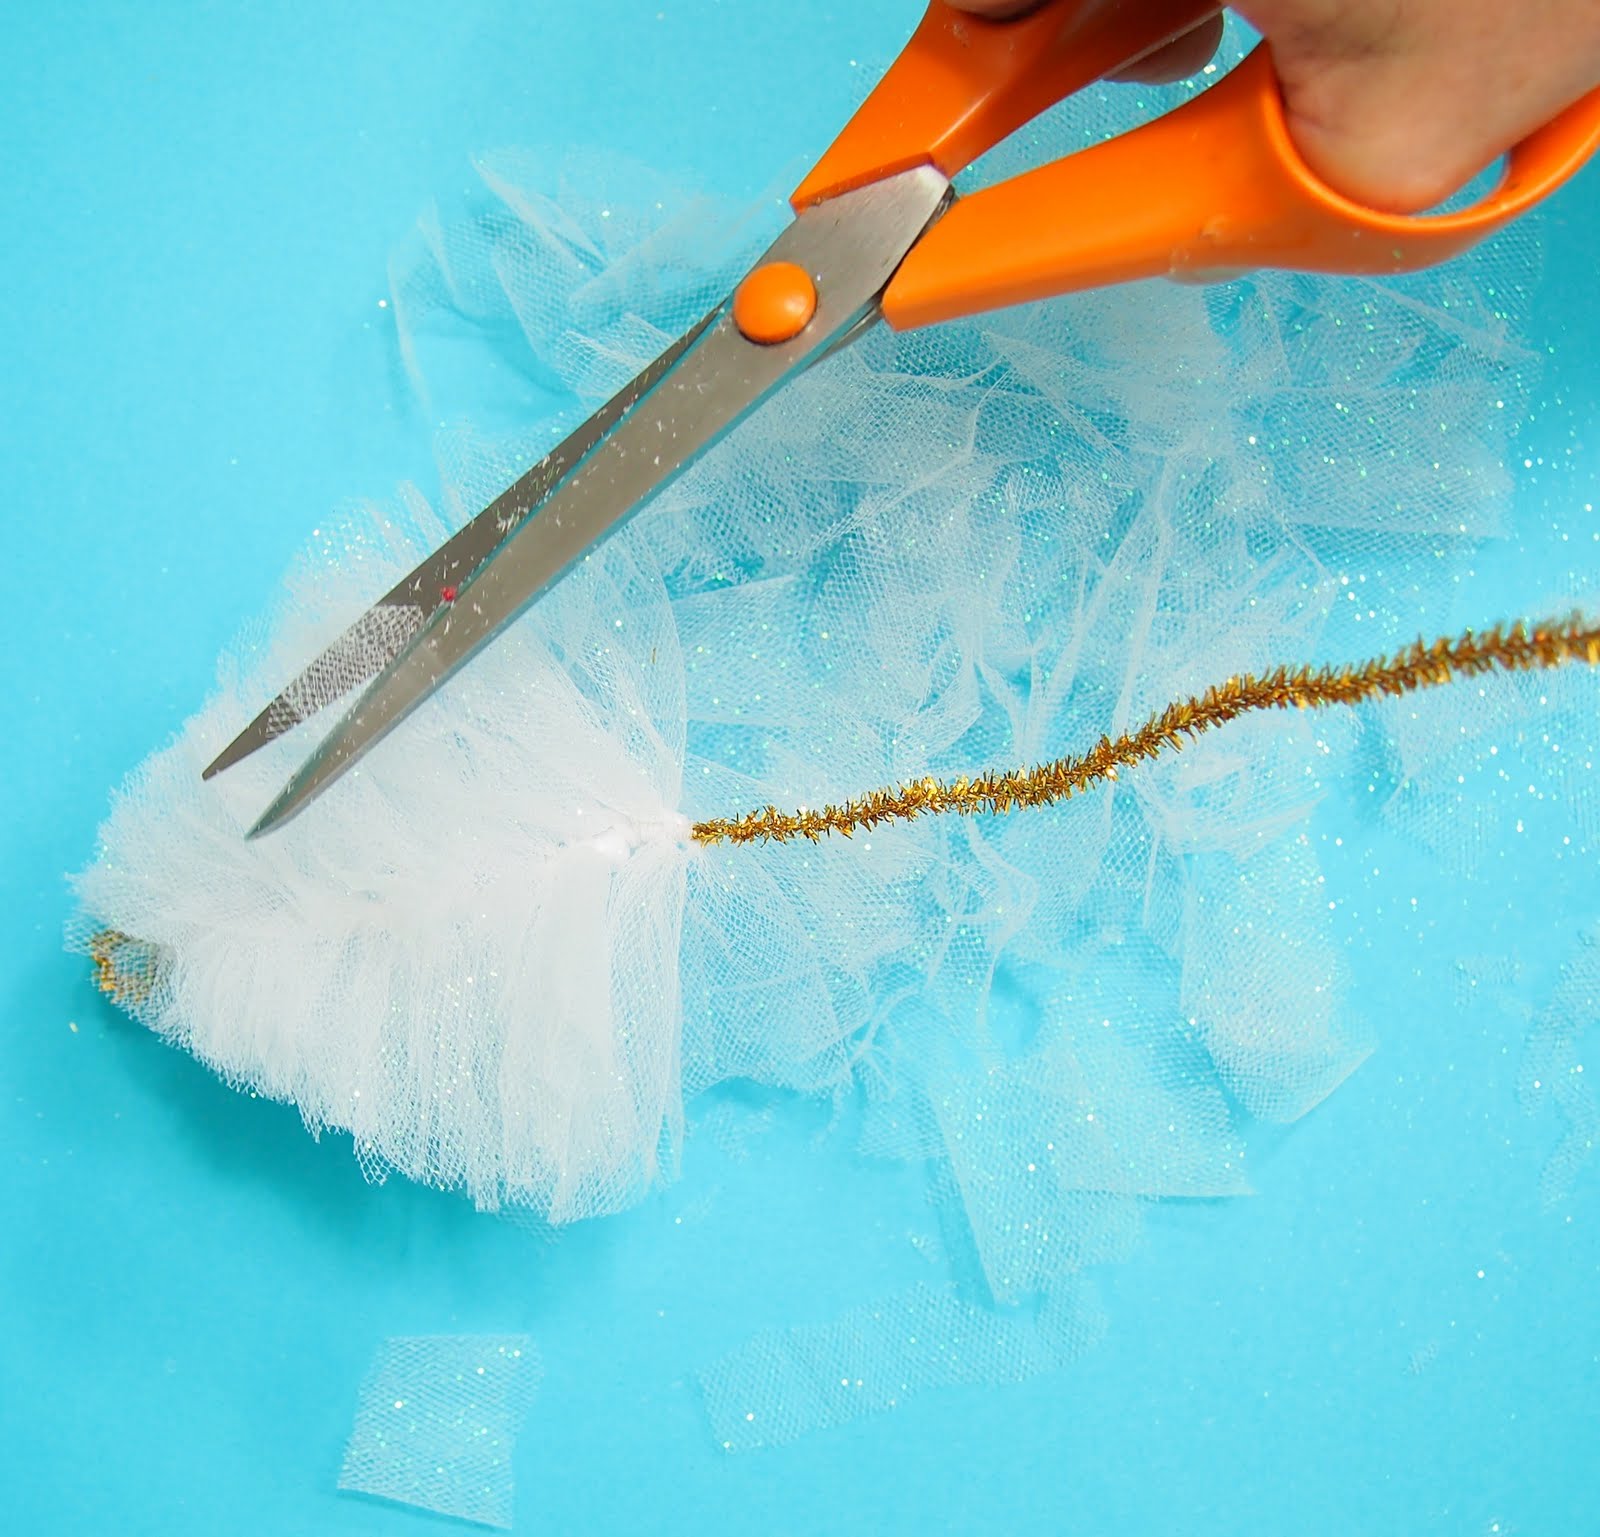
Now have fun trimming the tree with scissors- it’s like giving a poodle a hair cut (I have a poodle).
Trim the tulle shorter on the top and wider on the bottom.
Start slowly and turn the tree around as it is trimmed.
 

When the trimming is finished, trim the pipe cleaner bottom about 2 inches long and bend it until it fits in the hole of the bead (or trim it more if necessary).
The Tiny FunnelAdd adhesive jewels or sequins etc.
Here are the mini pompom tulle garlands- they were never published but I love them.
 The Tiny Funnel

Pine Cone Ornaments

The Tiny FunnelYou saw this coming right?
In keeping with my own self imposed rules of using only what I have on hand, I’m making another plastic Easter egg ornament. But it’s one that I’ve wanted to try for a while and it’s really fast and easy- and it has GLITTER! I love glitter!
 
Materials:
Plastic Easter egg
Adhesive backed felt
Fine glitter
Clear tape
“Craft” toothbrush (doesn’t everyone have a Batman toothbrush hanging around?)
Spoon
Paper plate
Push pin (rolled under the tape in the picture)
Needle
String or ribbon 

Cut the egg apart and snip off the little hinge.

Poke a hole in the top of the plastic egg, and then widen it with a thicker needle or a toothpick
(this plastic egg had 2 off-center holes all ready in it).
Loop and knot a 9” long piece of string or ribbon and thread the loop through the needle.
Push the needle through the inside and out the top of the plastic egg and remove the needle.

Secure the egg shut with clear tape.
 

Cut a small circle of adhesive felt, then add a slit to the center, remove the paper backing and thread it around the string on the top of the egg.
Cut three and one half 12” long by 1” wide strips of adhesive backed felt.
Draw a .25” line on one edge of the paper backing on each strip.
Cut scalloped “petals” on each strip but stop at the .25 line so there is a section completely uncut.

Use small scissors-medium and larger ones are harder to maneuver.
Consider cutting one strip with slightly smaller scallops to start with at the top of the pine cone.
Peel off the paper backing.

Start at the top of the egg and add the felt strip with the scallops pointing up, slowly pressing the bottom felt edge as it moves around and down the side.
Line the uncut edge up with the bottom of the previous row.


Trim the end at the bottom.


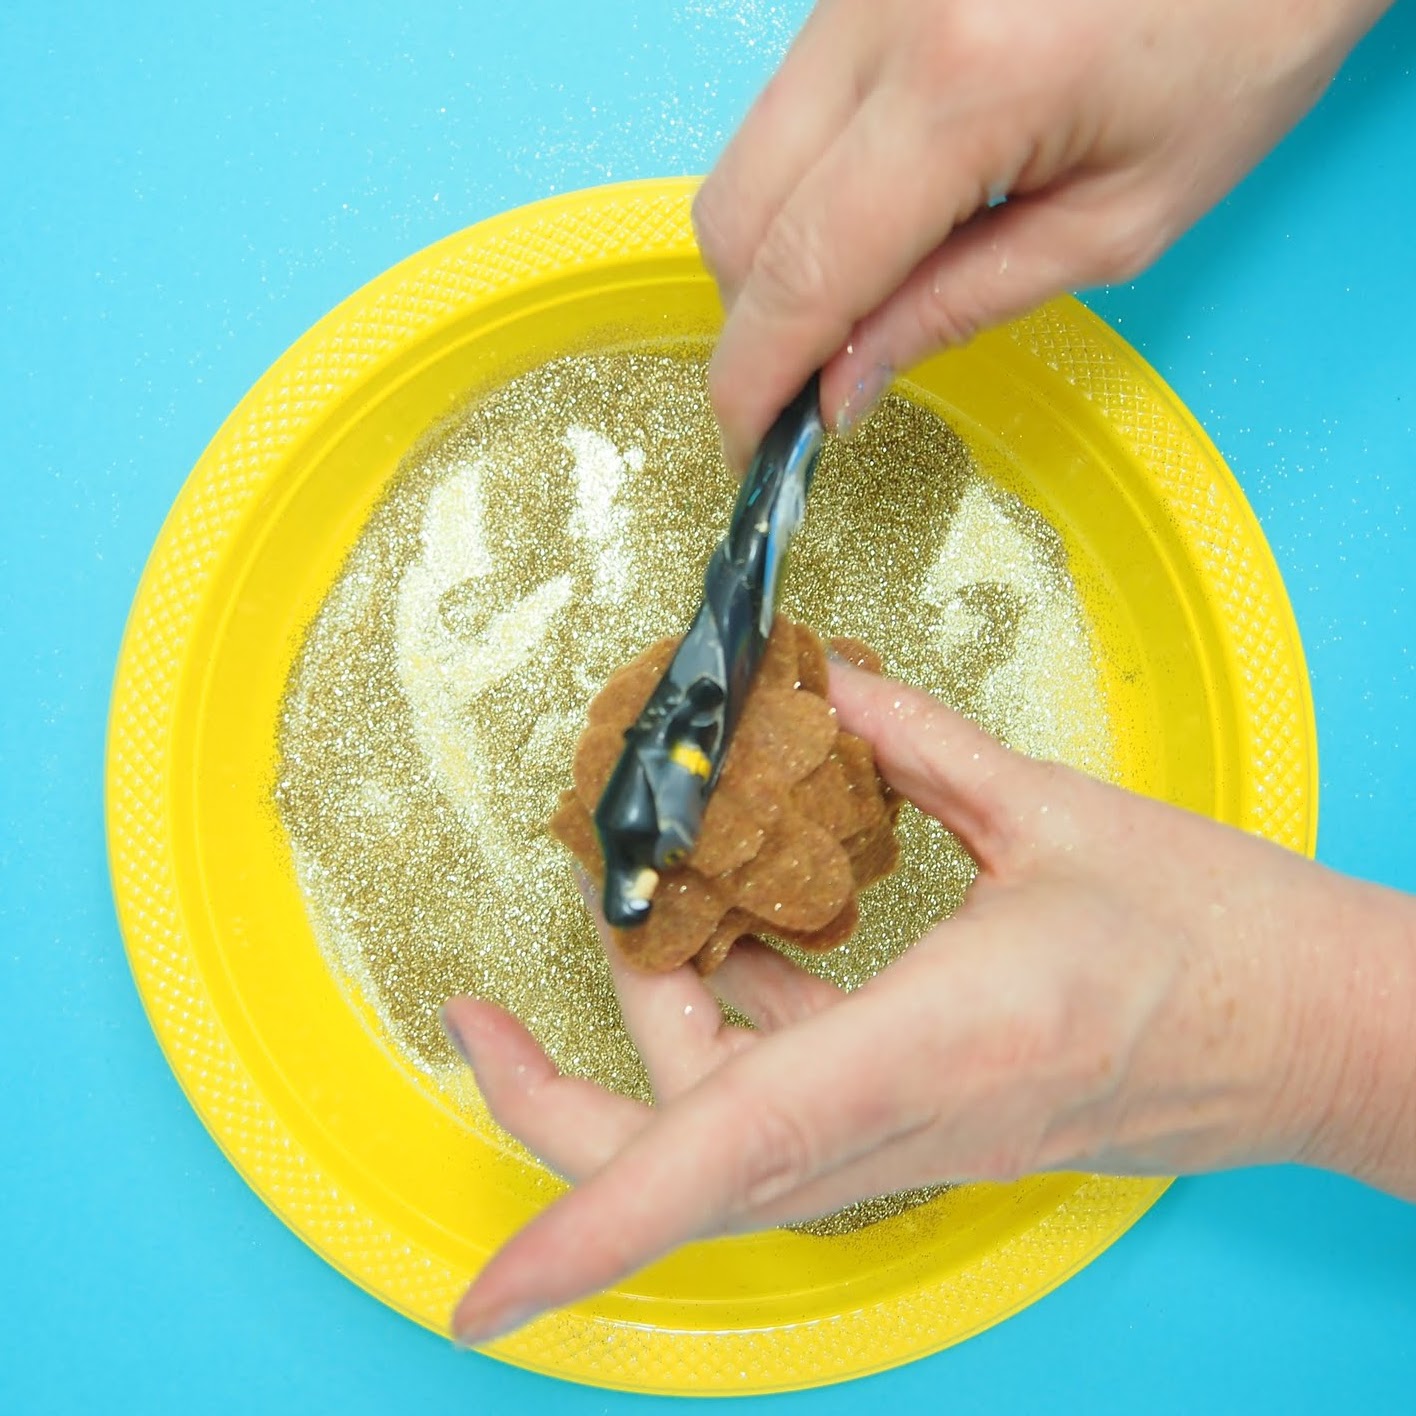
Peel back the petals a little and spoon glitter on the sticky surfaces over a paper/plastic plate.

Be enthusiastic with the glitter!
Flip the cone over and tap the bottom with handle of the craft toothbrush.
Brush the sides to encourage all the extra glitter to go back onto the plate.

So fast and pretty-try other colors too!