Showing posts with label Pins. Show all posts

Tinkering and Cinco De Mayo

I've designed several projects for work in the past for the Cinco de Mayo celebration (the Mexican holiday honoring the country's triumph over invading French forces) including Sombrero Hat Cookies and mini pepper piƱatas (yup – that was me) but this year in our home, we're metal punching to honor the holiday (we've made ornaments at Christmas using this process).

Materials:
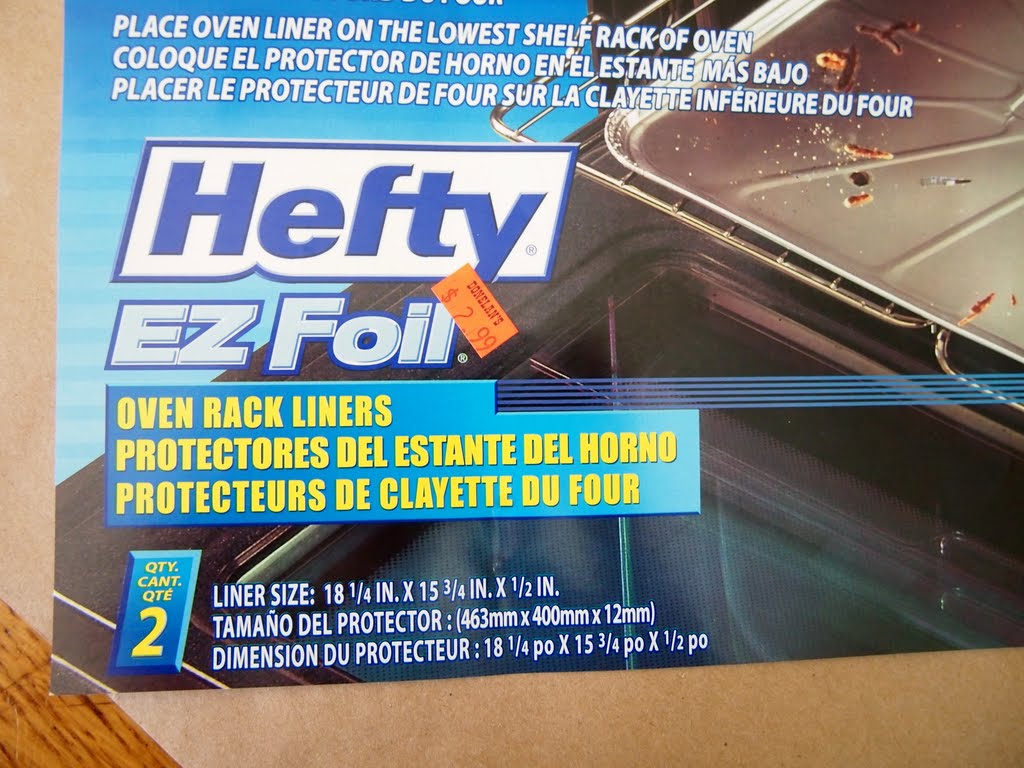
"EZ Foil" oven rack liners (2 pack) with their edges cut off (adult job) or any disposable foil pan
A sheet of Fun Foam
Push pins

Permanent Sharpie markers
Simple pictures- flowers might be nice (we used copies of Elliott's bird drawings and some copies from the Charlie Harper Coloring Book)
Tape and Scissors
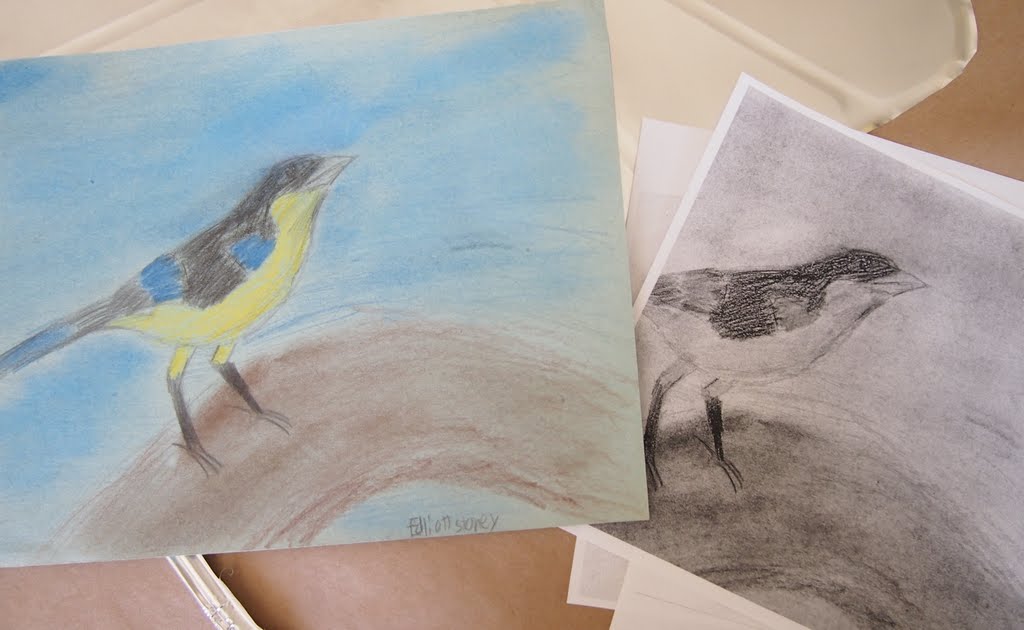
Elliotts drawing and a B&W copy


Cut the edges off one pan- we tried smoothing out the grooves with a bone folder and a tongue depressor over waxed paper but really, it wasn't necessary with such a big piece (maybe with a pie tin?)


Cut out the image being reproduced and tape it to a piece of metal trimmed to the same size.


Round any sharp metal corners with regular scissors.


Make sure to use a straight pin- not one with a nub or defect like the one shown here- okay?
Lay the covered metal on top of a piece of fun foam on a protected surface (like a cutting mat) and use the push pin to poke holes on the images lines.
Remember you can pick up the design and look at it on the other side or peek under the paper.

When you're finished poking, remove the paper and trim around the edges of the design.


Use permanent color markers to color in or leave the shapes plain.


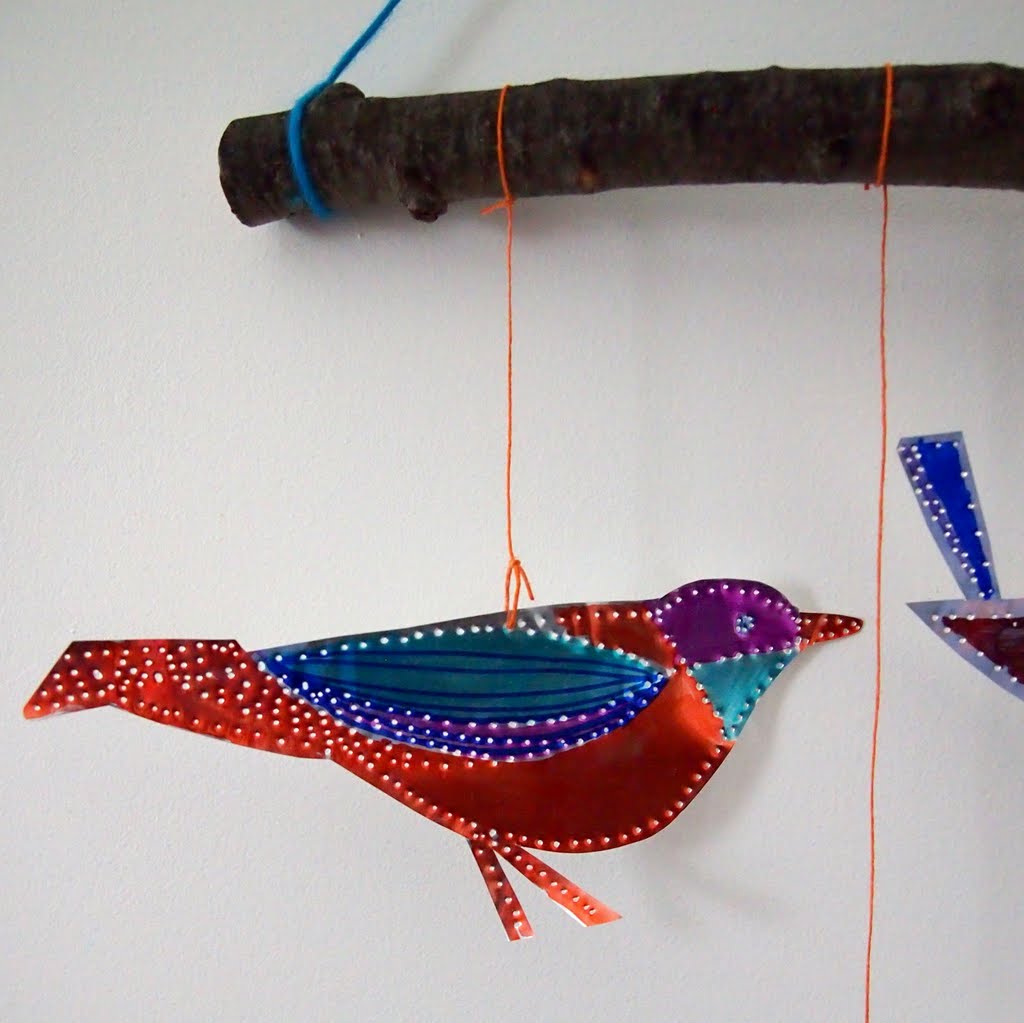
We hung ours on a stick with string- the holes are already there!


Sock Doughnuts (and Pin Cushions)


I made these fun sock doughnuts as play food for pretend play (for work awhile back) but I've been using a leftover one as a pin cushion. I decorated more than a dozen doughnuts with puffy paint BUT as a potential Mothers Day present you could use bugle beads as "jimmies" instead to fancy them up. The process for the doughnut base is the same.


Materials: 
2 socks (or 1 knee sock)
Scribbles 3D paint (puffy paint) or bugle beads
Needle & thread


Cut the toes off the socks.
Turn the socks inside out.
Put one sock inside the other (prettiest inside).

Roll the cut edge over about 1 inch and continue to roll the sock up (tuck the heel in as you roll) until the top edge flips over the doughnut.


Use an “overcast” stitch to sew the sock edge to the bottom of the doughnut. It doesn't have too be tidy- a child could do it pretty easily.


Add Scribbles 3D paint "sprinkles" and drip “frosting” to the doughnut top.
Allow the puffy paint to dry completely.


To add the bugle beads instead-make sure you choose a needle that's skinny enough to allow the beads to pass through.

Work around the doughnut- no need to tie off each bead- just shove the needle through to the next spot, add a bead and go back into the doughnut. Repeat and tie off the end on the bottom.

You could add felt frosting (sewn or glued?) if you wanted to before you add the bugle bead jimmies...an option I've not yet explored.


But it's an either/or thing- I wouldn't give a kid the one with the pins & needles to play with - right? We're giving that one to my mom with some little scissors and a box of pins.
Just sayin' in case you were worried.