Showing posts with label Valentine. Show all posts

Last minute Hoppy Valentine's Cards

Along time ago, in a distant galaxy, we made origami frog valentines for my sons class with a little chocolate tucked under each belly.

Today, simple, fast and easy and no candy.
I love my paper punches because they make projects like this easy to assemble. Punch
out the heart shape and add the printed message "Hoppy Valentine's Day!" Use glue stick to add the message and glue dots to add the plastic frogs.
Set up a production line!

The original idea included folding and stamping- very laborious and who has time right now?


Valentine's Day Candy Jar

The Tiny Funnel
Last year I made this version of "The many things I love about you" jar for my son with rectangle candies -this year it's hearts!

The Tiny Funnel
A lot of candies come in heart shapes and the medium Friskers heart punch makes a 1" heart that fits perfectly on the back of the heart shaped wrapped chocolates. I bought my heart punch at Michael's Arts and Crafts- where I get all my punches (and used my coupon!).
 

Here's my list of words to use (or you can make your own).

Run colored card stock through your printer, then punch out the hearts and add a small glue dot or double sided tape to secure each heart shape onto the back of the candies
Fill the jar and add a tag.
 

Crazy "Fur" You Valentine's Day Cards

The Tiny Funnel
Yes, I really love word puns for Valentine's day. For, Forever, Very - they all sound like "fur" to me and of course, that means pink fur at this time of year.

Materials:
  • Fake fur- I bought mine at Michael's (near the felt sheets); not all stores have pink.
  • White card stock – trimmed into a folded 5.5” by 4.25”card (or buy blank cards)
  • Patterned card stock paper- trimmed to the size of the card front 5.5” by 4.25”
  • Scrap paper trimmed to the size of the card front 5.5” by 4.25”
  • Double sided tape
  • Black sharpie pen
  • Scissors
  • Printed message
The edge of the fake fur is kind of ragged, so I devised a way to make a little "frame" and hide it (otherwise you could just glue it on).
 
Fold the trimmed paper scrap in half lengthwise and draw half a heart in the middle. 

Cut the heart shape out and open up the paper.
 
Fold the patterned paper in half-- really just pinch the middle to find the center.
 
Lay the “template” onto the back of the patterned paper. 

Line the middle of the papers together and then trace the heart shape.
 
You'll want the double-sided tape to lay at the edge of the heart shape when it’s cut out. 

First, cover the drawn heart shape with double side tape then pinch (fold) the center (sticky  sides out) and cut the inside shape out from the patterned paper.


Save the cut out heart for another card. 

Trace the heart template with a sharpie onto the back of the fake fur.
 

Cut the fake fur with a 1/8th inch boarder (i.e. slightly larger).
Press the fake fur heart, right side down, onto the back of the patterned paper, covering the heart hole and sticking to the double-sided tape.
Add more double-sided tape to the front of the blank card along the top, bottom and sides.


Flip the patterned paper (with the fake fur attached to the back) over and add it to the card- carefully line up the edges.
Trim the card so it’s tidy and straight.

Add the message.

The Tiny Funnel
The Tiny Funnel
You could even go as far as to make it into a "miss you card."

Valentine Candy Mason Jar and Easy Cards

Valentines already?  I bet you thought I forgot…
I’ve been busy taking a break from work. Taking some time off to blow the snow and make lots of pots of stew among other things.

Maybe because Valentines is on Saturday this year, or the day after winter break starts or maybe it’s just the way of middle school but we didn’t make Valentines this year! Yikes! It’s the first year since preschool.

However, I have some sweeties that I want to give cards to so I made these 2 fast cards this morning. Super easy and quick.

And also-- this jar full of candies. I made this project as a prototype for work for a Christmas present but I really think it works as a Valentines gift.

It's pretty self explanatory – but I made a document for my words- you can write your own words. The labels are 2 3/4" by 1 3/8" and print out on sheet with cutting lines.
Wrap them around the Hershey's Miniatures chocolate candy bars and tape them on the back with clear tape.
Put the candies in a quart mason jar and decorate the lid with washi tape and decorative paper. Use string or ribbon to attach a card stock heart shaped tag labeled "The many things I love about you."


The cards:


Eye Love You
Use any size card stock base folded in half (mine measures 5.5” by 4”).
Cut a front piece from pretty paper that is slightly smaller than the card.
Use a piece of scrap paper to cut a heart shape out (you know fold it in half and cut the shape out).
Make sure it fits on the card.
Then trace around the heart shape on the pretty paper and use a craft knife to trim the center out.
Place the pretty paper on the card – trace lightly around the inside heart shape.  Set the paper aside.
Add glue to the drawn heart shape and put the eyes inside the drawn line.
Allow the glued eyes to dry then use glue stick to add the pretty paper.
Add the words on a separate piece of paper (hand written or computer).


I like you sew much!
Use any size card stock base folded in half (mine measures 4.25” by 4.25”).
Cut a front piece from card stock that is slightly smaller than the card.

Use a piece of scrap paper to cut a heart shape out (you know fold it in half and cut the shape out). Make sure it fits on the card.

Trace lightly around the heart shape on the smaller card stock sheet.  Then mark around the heart shape about every .25”.
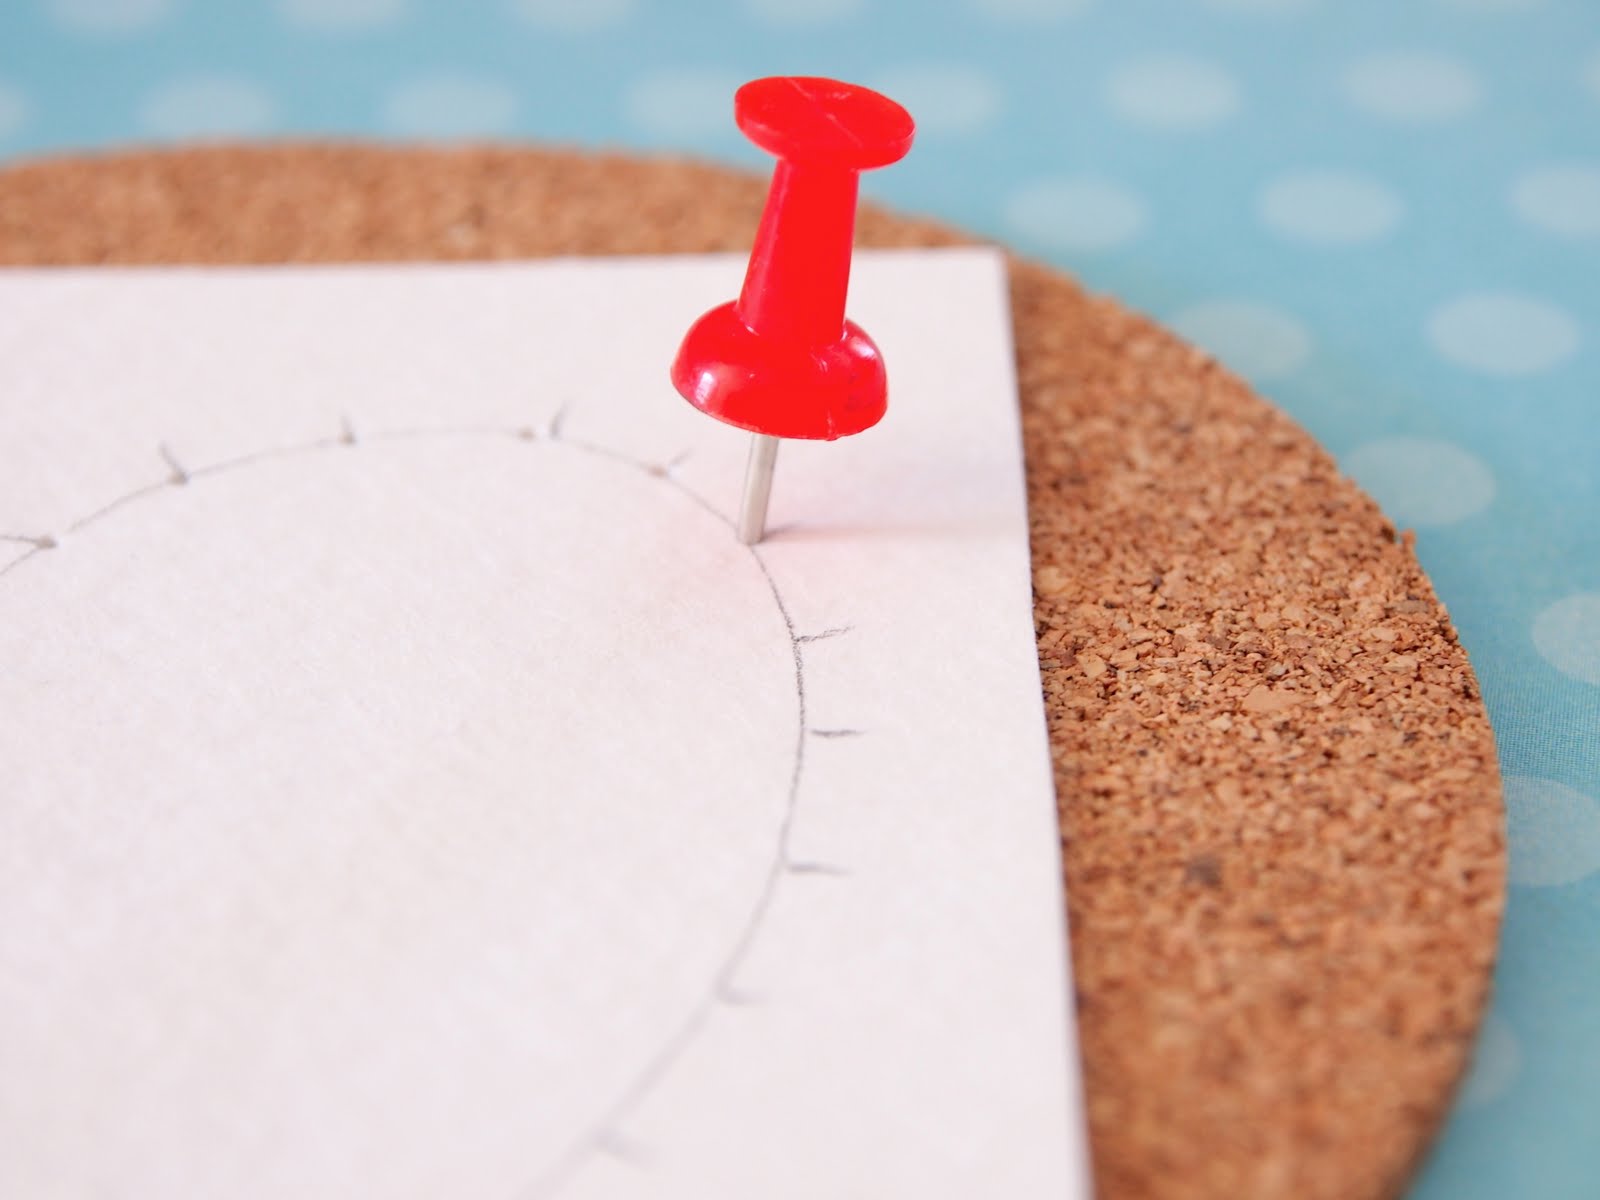
On a cork coaster, fun foam, or a magazine (something soft and protective of the surface your working on) use a push pin to make holes around the hearts shape on the .25” marks.

Use 3 strands of embroidery floss, Perle cotton or string (or yarn) to do a running stitch on the paper. I doubled up the stitches around the center of the heart to make it look even. Tie the strings off in the back and trim the ends.

Add glue stick to the back then add it to the card base. Add your message
to the front:

You’re sew cute!
I love you sew much!
I’m sew excited we’re friends!

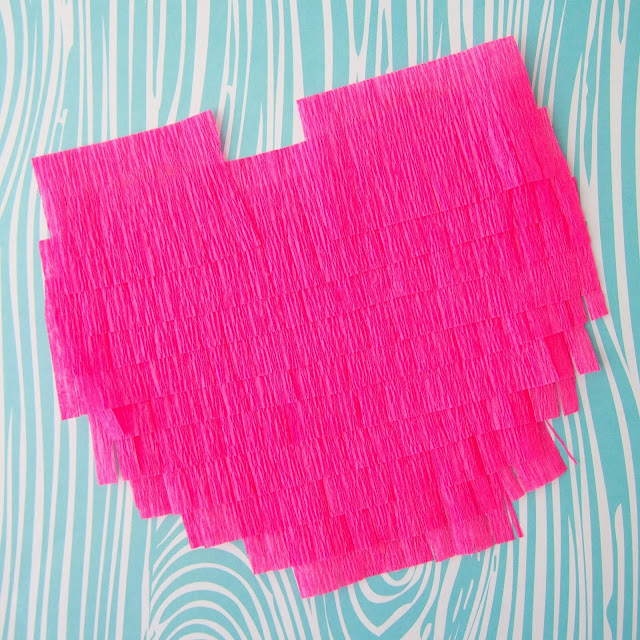
Valentines Heart (mini) Piñata


I really wanted to make a mini pinata for Valentines- I've worked the last few days trying to figure out how to streamline it but it's still a little much to make for a whole classroom of kids.
Still, making a bunch over a few days might work or maybe just for a few special people?
Materials:
Crepe paper streamer roll
Brown paper bag cut out hearts
Glue stick
Perle cotton (light string)
Clear tape
Flat candy, tiny toys and confetti
One trick is to roll the crepe paper around a can 6 or 7 times, slip the paper off and then make the tiny slits through all the layers (yes, I tried to cut it on the actual roll but it was a disaster as it's wound so tightly).


Cut two 5.5" tall by 5.5" wide hearts from a brown paper bag (you can make your own template by folding a piece of card stock in half and cutting one heart out); it's fine to have fold lines or printing on the bag- no one will see them.

I like using the brown bag paper because it has suppleness to it, it's strong and has a nice weight. If there's writing on the bag, place it face down and cover the plain side.

Cut a few lengths of the fringed crepe paper.
Start at the bottom of the heart and add glue stick about 2" at time- then add a layer of crepe paper and move up to the top of the heart shape until the whole shape is covered- I left about .25" fringe between layers.


Go right across the top humps.

Trim the crepe paper from the edges.

Use clear tape to add an 8" string looped in half to the middle of one inside heart shape.

You could alternate colors of crepe paper too.

Run glue stick around the inside edge of one heart- leave a section/side unglued to poke things into later.


LET THE GLUE DRY!!

Walk away and do something else - trim the other hearts, check the weather, make some hot chocolate or... make some confetti!
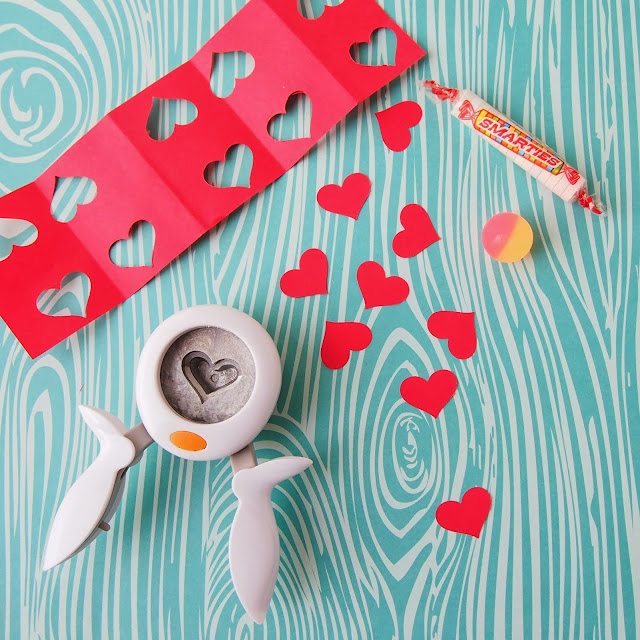
We used a heart punch from Micheal's (use your coupon!) to make little hearts for the inside of the Piñata heart.
You could just use regular round hole punch.

I plan to get some flat chocolate hearts when we make these for school but for now, I had some smarties on hand and a little bouncy ball (a pack from Target).
Print and cut out a strip of paper for the heart string- though you could use it to address the Valentine as well.
When the glue is completely dry - pop the goodies into the pocket.

Just to note here- I tried making this several ways- stapling and/or taping the heart together THEN covering it but it got really cumbersome and messy so this is the order that seems to work the best. 

When we make them for school I'll see if there are any other tips and add them.


Add glue stick to the last edge.
Pinch the glued edge shut- this is why you waited for the glue to dry earlier! so the pressure of the stuff inside doesn't cause the whole thing to come undone while the glue stick sets up.
There might be a little unevenness on an edge-- this is real life and I'm not going to pretend it's all perfect so just trim around the heart until it's good enough but DON'T cut that little string hanging out of the middle V.


Add the little paper loop to the string loop and use the glue stick to close the strip to itself.
Do you have a good (clean) pun for this project? We want to print something clever on the paper loop. 
We have: Piñhearta, 
You pull my hearts strings, You tear me up, but we haven't come up with a great one yet.

Let us know if you have one!