Showing posts with label Candy. Show all posts
Valentine's Day Candy Jar
Last year I made this version of "The many things I love about you" jar for my son with rectangle candies -this year it's hearts!
Here's my list of words to use (or you can make your own).
Run colored card stock through your printer, then punch out the hearts and add a small glue dot or double sided tape to secure each heart shape onto the back of the candies.
Fill the jar and add a tag.
A lot of candies come in heart shapes and the medium Friskers heart punch makes a 1" heart that fits perfectly on the back of the heart shaped wrapped chocolates. I bought my heart punch at Michael's Arts and Crafts- where I get all my punches (and used my coupon!).
Here's my list of words to use (or you can make your own).
Run colored card stock through your printer, then punch out the hearts and add a small glue dot or double sided tape to secure each heart shape onto the back of the candies.
Fill the jar and add a tag.
Labels:
Candy
,
heart punch
,
holidays
,
Valentine
,
Valentines
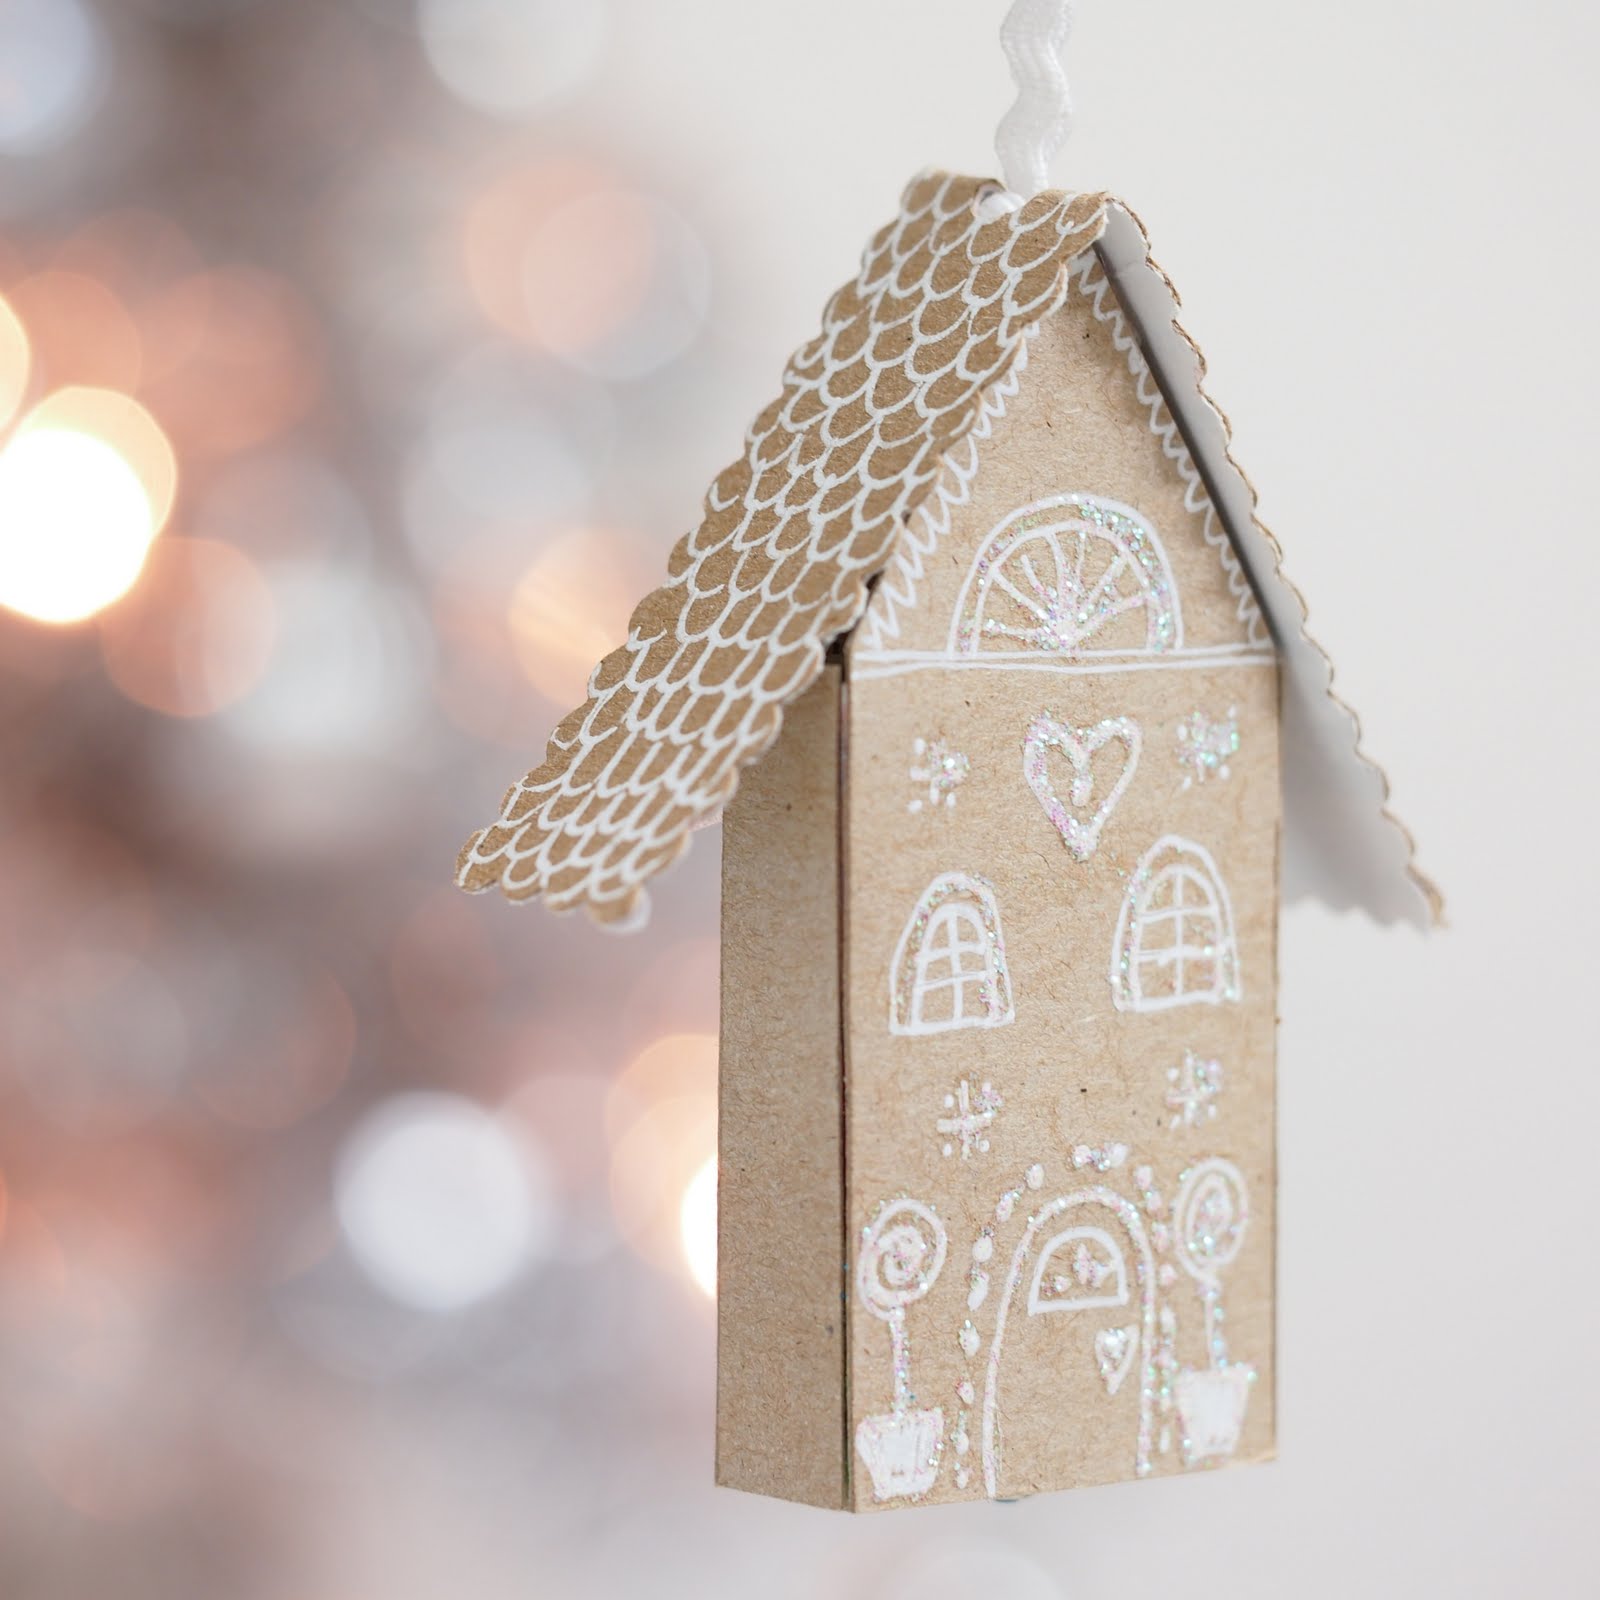
Little Candy House Ornaments
Originally, I made these as gingerbread houses but they evolved into candy holder ornaments.
They also got complicated at one point with a full one piece wrap around cardboard outer layer. At the 11th hour (literally) I decided to add the house pieces individually--so much easier-- and then to add the roof with tacky glue.
Materials:
Match box (remove the matches)
Double sided tape
Tacky glue
Cereal box weight cardboard (I used a coffee filter box)
Paper fastener
X-Acto knife
Office dots, gel pen and/or glitter glue
Push pin
String or ribbon
Remove the interior match box and cut a vertical slit in the middle of one short side.
Insert the paper fastener as a knob. Set aside.
Cut little house fronts, backs and sides to cover the match box.
Draw the designs on the house front and back BEFORE they’re added to the match box- if using glitter glue to decorate- allow it to dry completely.
Add the decorated cardboard house parts onto the match box outside surfaces with double sided tape.
Cut and decorate a .5” to .75 wide roof.
Poke a hole with a push pin (or use a hole punch) in the middle of the roof and add a looped piece of ribbon or sting through the underside.
Run tacky glue on the roof edges on the box then add the roof piece and allow to completely dry before hanging.
Insert the candy drawer (with candy).
They also got complicated at one point with a full one piece wrap around cardboard outer layer. At the 11th hour (literally) I decided to add the house pieces individually--so much easier-- and then to add the roof with tacky glue.
Materials:
Match box (remove the matches)
Double sided tape
Tacky glue
Cereal box weight cardboard (I used a coffee filter box)
Paper fastener
X-Acto knife
Office dots, gel pen and/or glitter glue
Push pin
String or ribbon
Remove the interior match box and cut a vertical slit in the middle of one short side.
Insert the paper fastener as a knob. Set aside.
Draw the designs on the house front and back BEFORE they’re added to the match box- if using glitter glue to decorate- allow it to dry completely.
Add the decorated cardboard house parts onto the match box outside surfaces with double sided tape.
Cut and decorate a .5” to .75 wide roof.
Poke a hole with a push pin (or use a hole punch) in the middle of the roof and add a looped piece of ribbon or sting through the underside.
Run tacky glue on the roof edges on the box then add the roof piece and allow to completely dry before hanging.
Insert the candy drawer (with candy).
Labels:
Candy
,
cardboard. match box
,
Christmas ornaments
,
gingerbread
,
Ornaments
Felt Ribbon Wreath Ornaments
I loved it as a kid- it seemed so exotic to me. I sometimes still see it in stores and it reminds me of being little and visiting my relatives where there were treats like that we didn't have in our home- like rum balls and chocolate covered cherries.
These little felt ribbon wreaths are easy to make- they might need an extra pair of hands to tie the ends off. I tried making them with regular thread but it wasn't quite strong enough- maybe double the thread or use a length of Perle cotton if you don't have filament.
Two 36" lengths of 1/2" wide felt strips- (2 colors plus a little scrap to make a bow)
Filament (or Perle cotton)
Needle
Glue dots (or white glue)
Thread a 25" length of filament with a needle and anchor/knot it through both layers of felt at one end.
Leave a 5” tail to tie off with later.
Thread the needle through the felt with a running stitch- in .5" sections.
Pull the filament to tighten the felt ribbons and continue until you have finished threading the length of the felt strips – you can make the wreaths bigger or smaller (though increase the width of the felt ribbon if the wreath is made larger).
Completely tighten and tie/knot (this is where a child might need help) the filament and trim.
Cut and tie a little felt bow and use a glue dot to add the bow to the wreath (hide the seam where the 2 ends meet).
Add a little jewel, sequin or tiny pom-pom-whatever you have.
Attach a looped string hanger at the top.
Add a little jewel, sequin or tiny pom-pom-whatever you have.
Attach a looped string hanger at the top.
Labels:
Candy
,
Christmas Ornament Challenge
,
Christmas ornaments
,
Felt
,
Kids crafts
,
Ornaments
Halloween Eyeball Cupcakes (with doughnuts inside!)
I'm a little fascinated with things you can bake inside other things- like pies in a cake or Oreos in the bottom of a cupcake. Last Halloween we experimented with baking doughnut holes in a cake so it seemed only fitting to take it one more step this year and give cupcakes a try.
What we really wanted though, was a "bloody" eyeball inside using jelly filled munchkins and to our delight-it worked!
Finally, with the simply addition of confectioners sugar, I had a nice malleable "clay" that easily formed into a ball and kept its shape.
24 Jelly filled "munchkins" (filled doughnut holes)
Cake mix and ingredients (I favor Duncan Hines)
Cupcake wrappers
Chocolate frosting (Pillsbury)
Vanilla frosting (Pillsbury vanilla is really white)
Confectioners' sugar
M & M plain candies
Black food marker
Wax paper
Spray oil
Q-tip
Special optional equipment:
#40 & #100 Scoop
Standing mixer
Note:
I had left over cake mix at the end of making the eyeball cupcakes and made about 10 mini cupcakes; you can take that into consideration and have the mini cupcake wrappers and a mini muffin pan handy.
Preheat the oven to 350° (or whatever your package of cake mix says).
Mix half the container of the white frosting with 1.5 cups of confectioners' sugar.
Put the cupcake wrappers into the muffin tins.
Mix the cake mix.
Add about ½ tablespoon (#100 scoop) of cake mix to the bottom of each cupcake wrapper and then add a jelly doughnut hole.
You're basically filling each wrapper .25" from the top edge - it's not much cake mix and there will be some left over in the bowl at the end (hence the mini cup cakes).
Bake the cupcakes for 15 min. and test for doneness with a toothpick on the side of one of the cupcakes (obviously in the center you would hit the jelly).
While the cupcakes are cooling, add a M & M (with the branding face down) to each frosting ball -put a little spray oil in your (CLEAN! and dry) palms and gently roll the ball around until it's round and smooth.
Use a clean Q-tip to wipe any excess frosting or oil off the candy then add a pupil in the center with the food marker.
I put the eyes back into the refrigerator just to keep them firm.
When I first started this project, I made the whole cupcake into an eyeball by rolling the tops in warm white frosting and while that idea went by the wayside I really like the smooth look so I kept it for the final project.
First, stir the chocolate frosting in its container to remove all the air that's been whipped into it during the manufacturing process.
Warm the frosting in a microwavable bowl for about 30 seconds at 50%.
Stir the frosting---you want it to just be stir-able but not runny! (warm it a little more if you need to).
Dip the top of each cupcake into the frosting and set it on the wax paper.
I like a little frosting drip on the side but you can avoid it by rolling the cupcake around until the frosting doesn't drip off.
Add the eyeballs and you're done!
Witch Heads
Last winter I worked on a few crepe paper projects for work. I thought it would be fun to make an ice cream cone surprise ball- you know that kind that has small treats and candies rolled into it? The ice cream cone idea didn’t go any further but as I was working, I “saw” it upside down and it looked like a witch's head!
NOW it’s finally Halloween time and I made few witch head surprise balls. I think they could work for a party or just maybe as special treats for family members.
Here’s how I made it:
Materials:
Black card stock
Crepe paper(green)
Googly eyes
Pipe cleaner
Aleen’s Tacky Glue
Stapler
Glue Stick
Clear Tape
10”-12” paper plate
5" lid or compass
Trace then cut a 5” diameter card stock circle.
Fold the paper plate in half.
Trace the half circle onto the card stock then cut it out.
Roll the half circle into a cone and staple the edge in place.
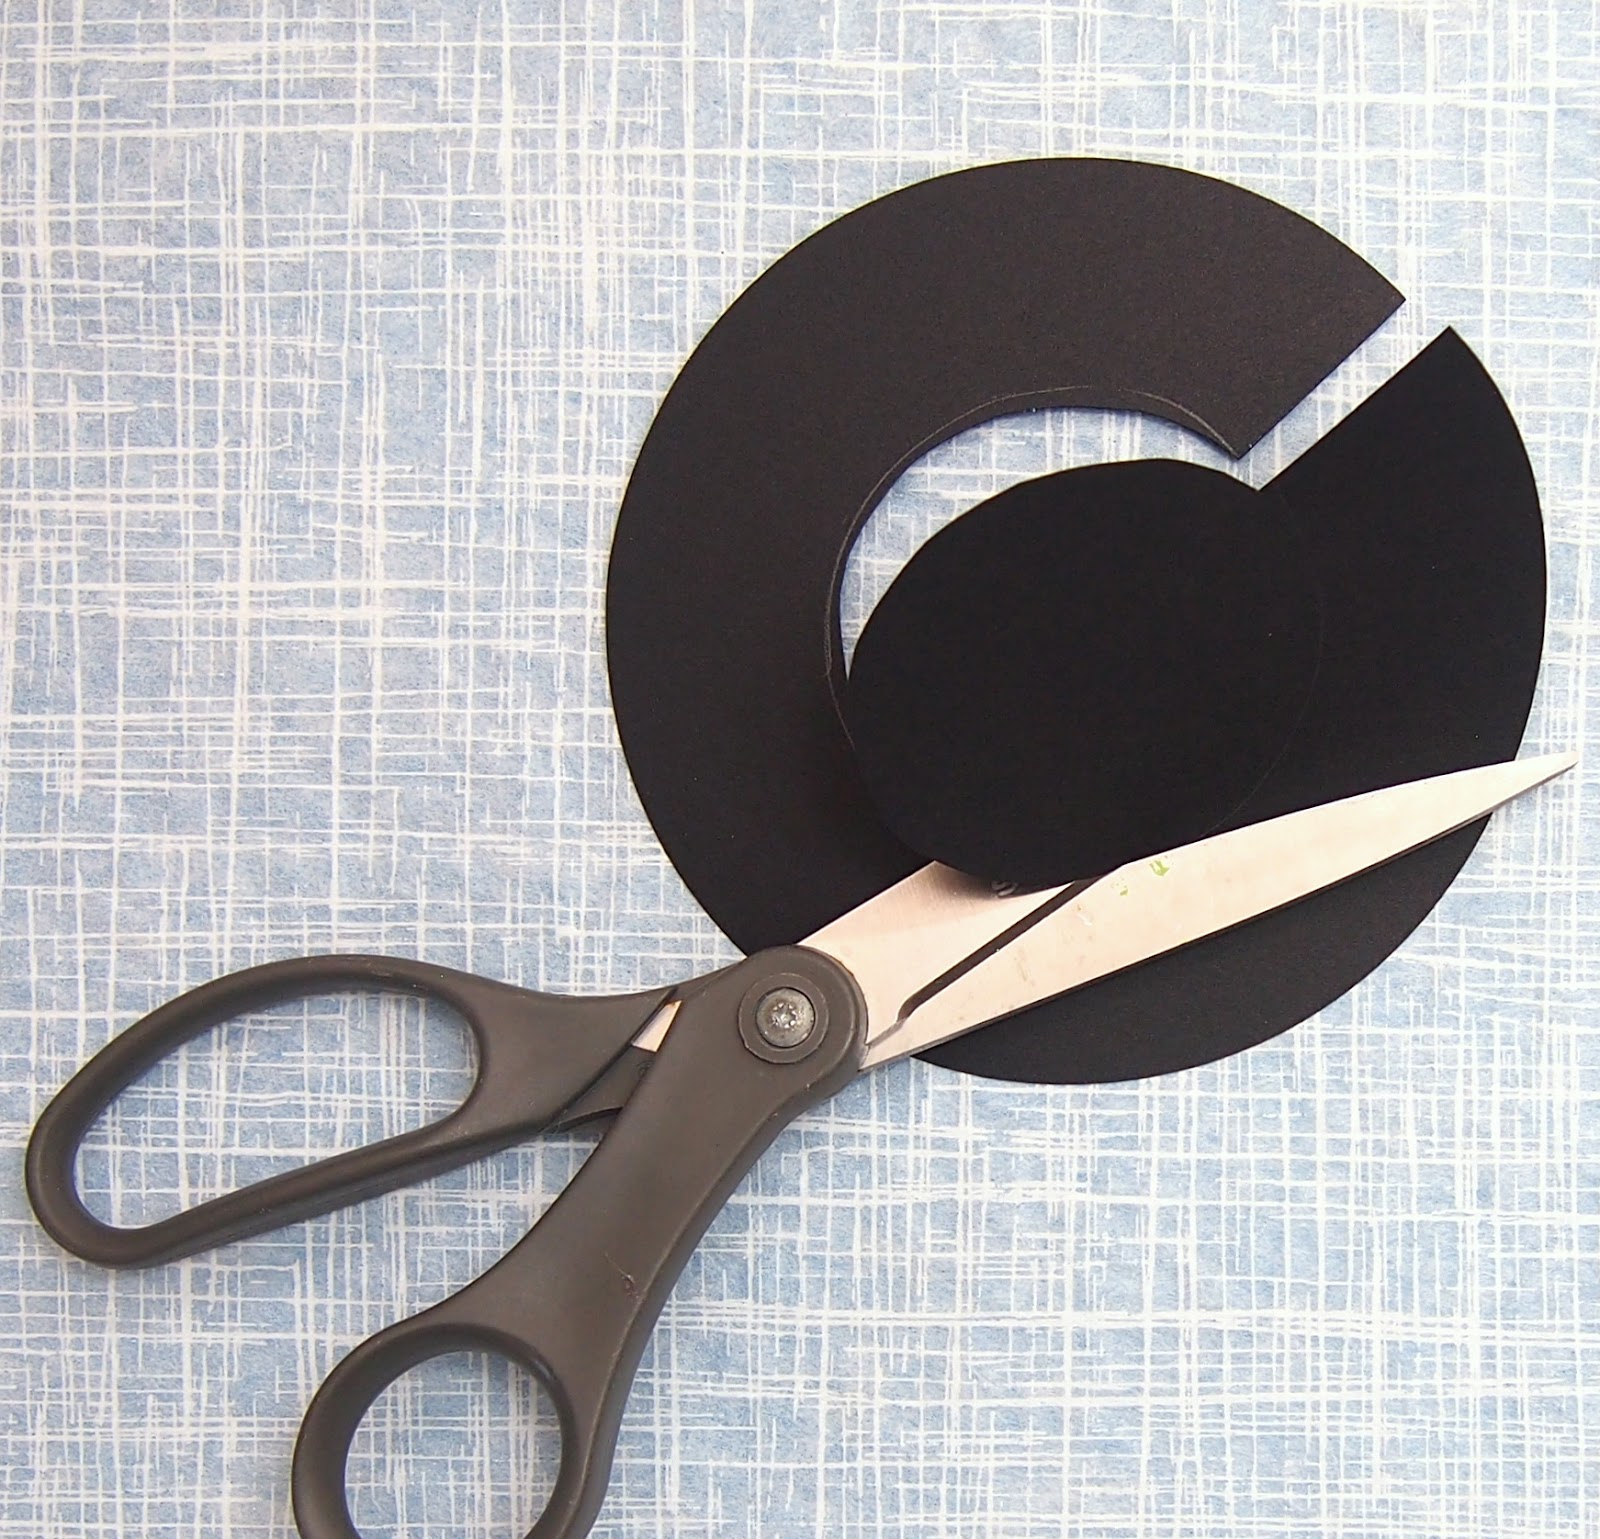
Set the cone on the center of the 5” circle (the brim) and trace around the cone bottom, and then cut out the center.
Tape the slit in the circle back together.
Set the cone down into the hole and line up the taped slit with the stapled edge.
Add a line of tacky glue were the circle edge meets the cone. Set aside and allow to dry.
Fold the 4" pipe cleaner in half and twist it about .5“ from the ends –set aside.
Start the witches head by rolling the crepe paper around the largest treats and treasures (and most special) then add the more flat candies closer to the outside of the ball.
Secure the end with glue stick.
It's really okay if the balls are misshapen-so are witches heads.
Tape the nose on with clear tape and add crepe paper around it and over the head again- (glue stick to helps hold the crepe paper in place). I imagine you could try just twisting some paper and taping it on but I wanted a hook in the nose.
When the brim connection glue is completely dry, trim off any excess paper from the cone.
Trace around where the hat will sit on the witch's head and add glue just inside the line.
Set the hat on the head.
Add the eyes and the pipe cleaner mouth with tacky glue.
Then put the head in a cup to hold it up while everything dries.
Labels:
Candy
,
crepe paper
,
Googly eyes
,
Halloween
,
pipe cleaners
,
Treasure
,
Treats
,
Witch
,
Witches
Subscribe to:
Posts
(
Atom
)