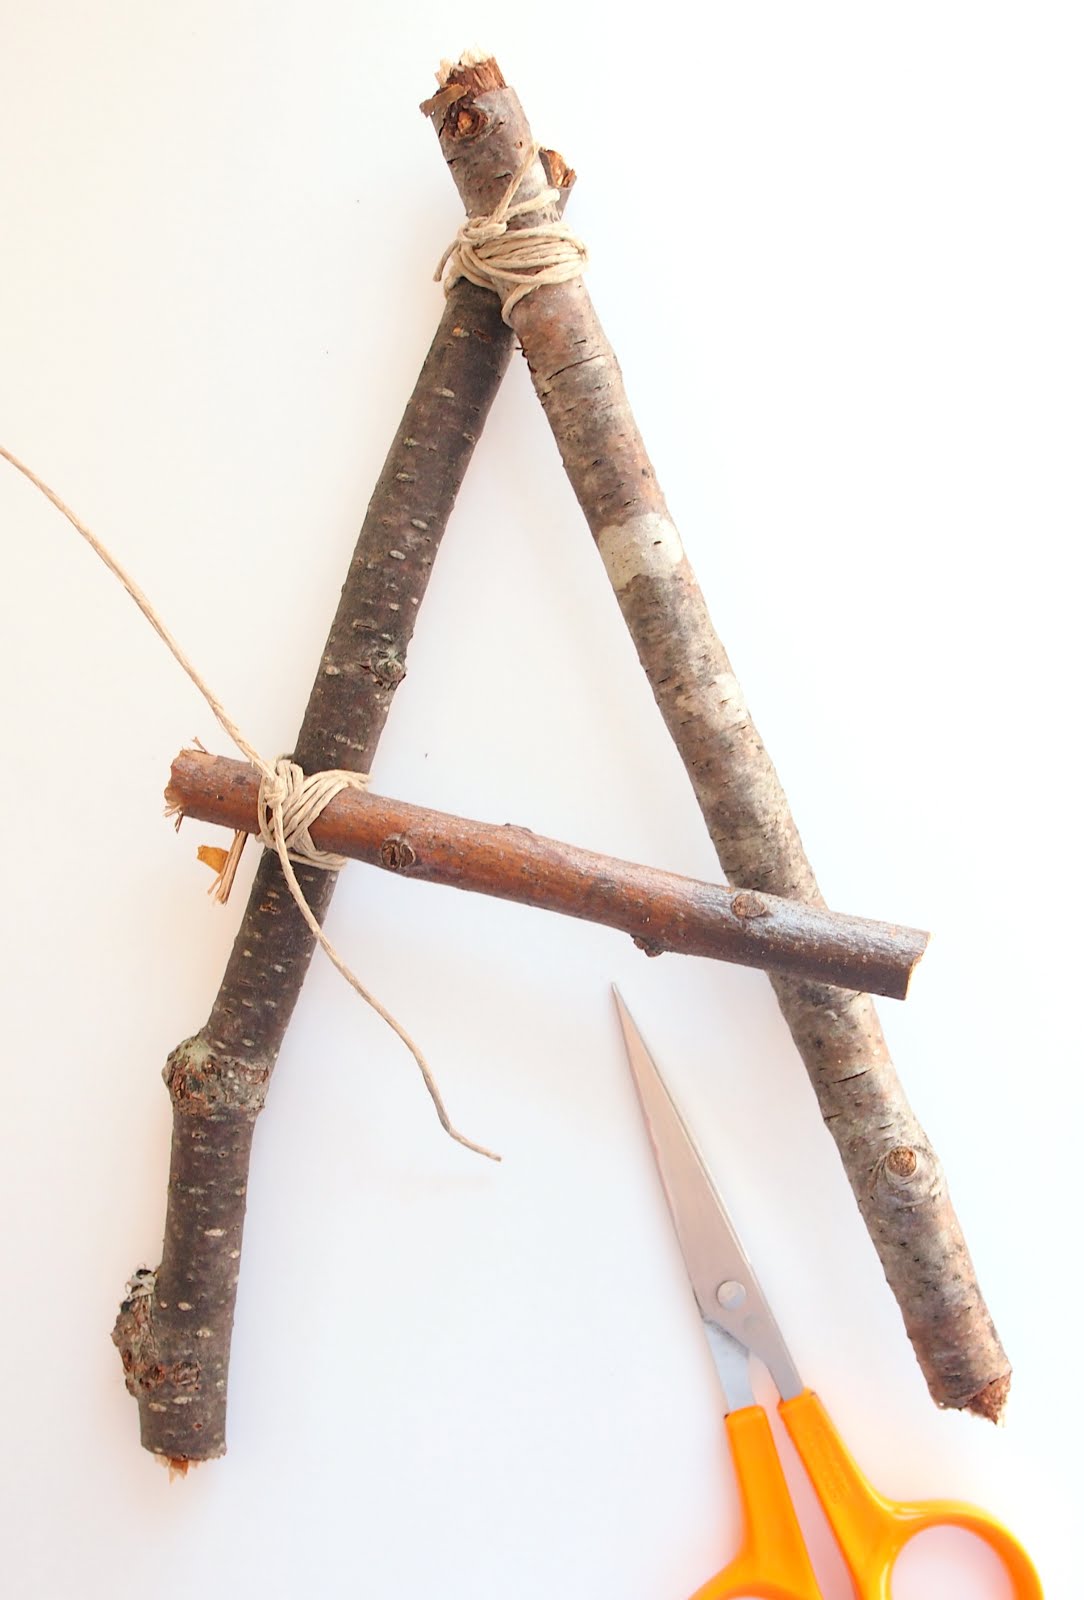
Continuing with Fairy House Constructions this week: try lashing together some sticks to make A shapes. The “A” shape can be used to build a tent house, a swing or to hold a hammock.
 Materials:
2 long sticks (ours measure 8”)
One shorter stick (ours measures 4”)
Twine cut into 31” sections
 Start by laying the two 8” long sticks parallel with each other.
Tie and then wrap half of the 31” twine length around the sticks about an inch from the top leaving a 3” tail.
Spread the sticks apart to form a V then continue to wrap the twine around and through the sticks and finally, tie the twine off using the tail.

Lay the shorter stick about half way along one of the V shaped sticks then tie (again leaving a tail) and wrap twine around the intersection.
Repeat with the end of the cross stick.
Swing
 To make the seat, lash 3 to 4 short sticks together by wrapping the twine over and under, back and forth on both sides at the ends of the sticks.
Thread a length of string through twine on one side and tie it into a loop with the knot hiding on the bottom.
Trim the excess twine.
Repeat on the other end.
 Thread the loops through a stick and in the crook in the A shapes.
If the ground is not being used to hold the sticks in place, lash the “A” shapes together using the top stick and lash 2 sticks across to the bottoms of the A shapes.
Hammock
 Use pinking shears to cut a rectangle shaped piece of fabric (ours measures 4.5” by 6”).
Gather one end of the fabric and wrap and tie a length of string around the fabric gather.
Tie a knot in the remaining twine about 4“ from the gathered material to form a loop and then trim the excess.
Repeat on the other end.
Thread a stick through the loops and rest the stick on the notches in the A shapes.
If the ground is not being used to hold the sticks in place, lash the “A” shapes together using the top stick and lash 2 sticks across to the bottoms of the A shapes.
Teepee Frames


The teepee frame can be made many ways- here are 2 basic constructions that work well.
The first construction is to simply stick short sticks (ours measure about 8-9”) into the earth and lean them into the center at the top of the teepee.
Add fabric, bark or leave the structure as-is.

Triangle Teepee from 2 “A” shapes
The second construction is to use the “A” shapes to form a unit.
This construction can be made with 2 “A” shapes to form a triangle shaped footprint OR 3 “A” shapes to form a square footprint.
 Make 2 “A” shapes then lash them together at the top and sides – all with a slight lean into the center so that the legs run parallel to each other. The foot print will form a triangle with one open side as seen from above.
Cut a ¼ of a circle (like a piece of pie) of fabric to make the teepee fabric covering.


Triangle Teepee from 3 “A” shapes
 Make 3 “A” shapes then lash them together at the top and sides – all with a slight lean into the center so that the legs run parallel to each other. The foot print will form a square with one open side as seen from above.
 Cut a little more than ¼ of a circle of fabric to make the teepee fabric covering. Cut a corresponding curve at the top to remove the excess fabric.
 Next up Part 3


 And lastly, a few details for Fairy House Week; it's important to remember that fairies like their furniture, their little tables and lamps - their tea. Acorns, acorn caps, milkweed pods, stones and twigs can be used to make the special tiny furnishings in a fairy house. Simple is the key.