
 Please
understand- I'm a Cook's Illustrated kind of gal all the way - all 40 ingredients and 80 steps (love this video). But for work - sometimes I go fast; cut corners, buy
refrigerated sugar cookie dough, use canned frosting and food coloring.
Please
understand- I'm a Cook's Illustrated kind of gal all the way - all 40 ingredients and 80 steps (love this video). But for work - sometimes I go fast; cut corners, buy
refrigerated sugar cookie dough, use canned frosting and food coloring.
I do. Sigh.
But this is not for work. This is for my boy who loves doughnuts; however, I broke my rules and used food coloring to give it a 4th of July kind of twist.

Gather:
3 cake doughnuts
White frosting in can
Red and Blue food coloring gel
 Add a little food coloring (remember to use a clean toothpick to go into the food gel so you don't contaminate it) to 2 little bowls of frosting.
Slice the doughnuts (as fresh as you can get them) in half lengthwise.
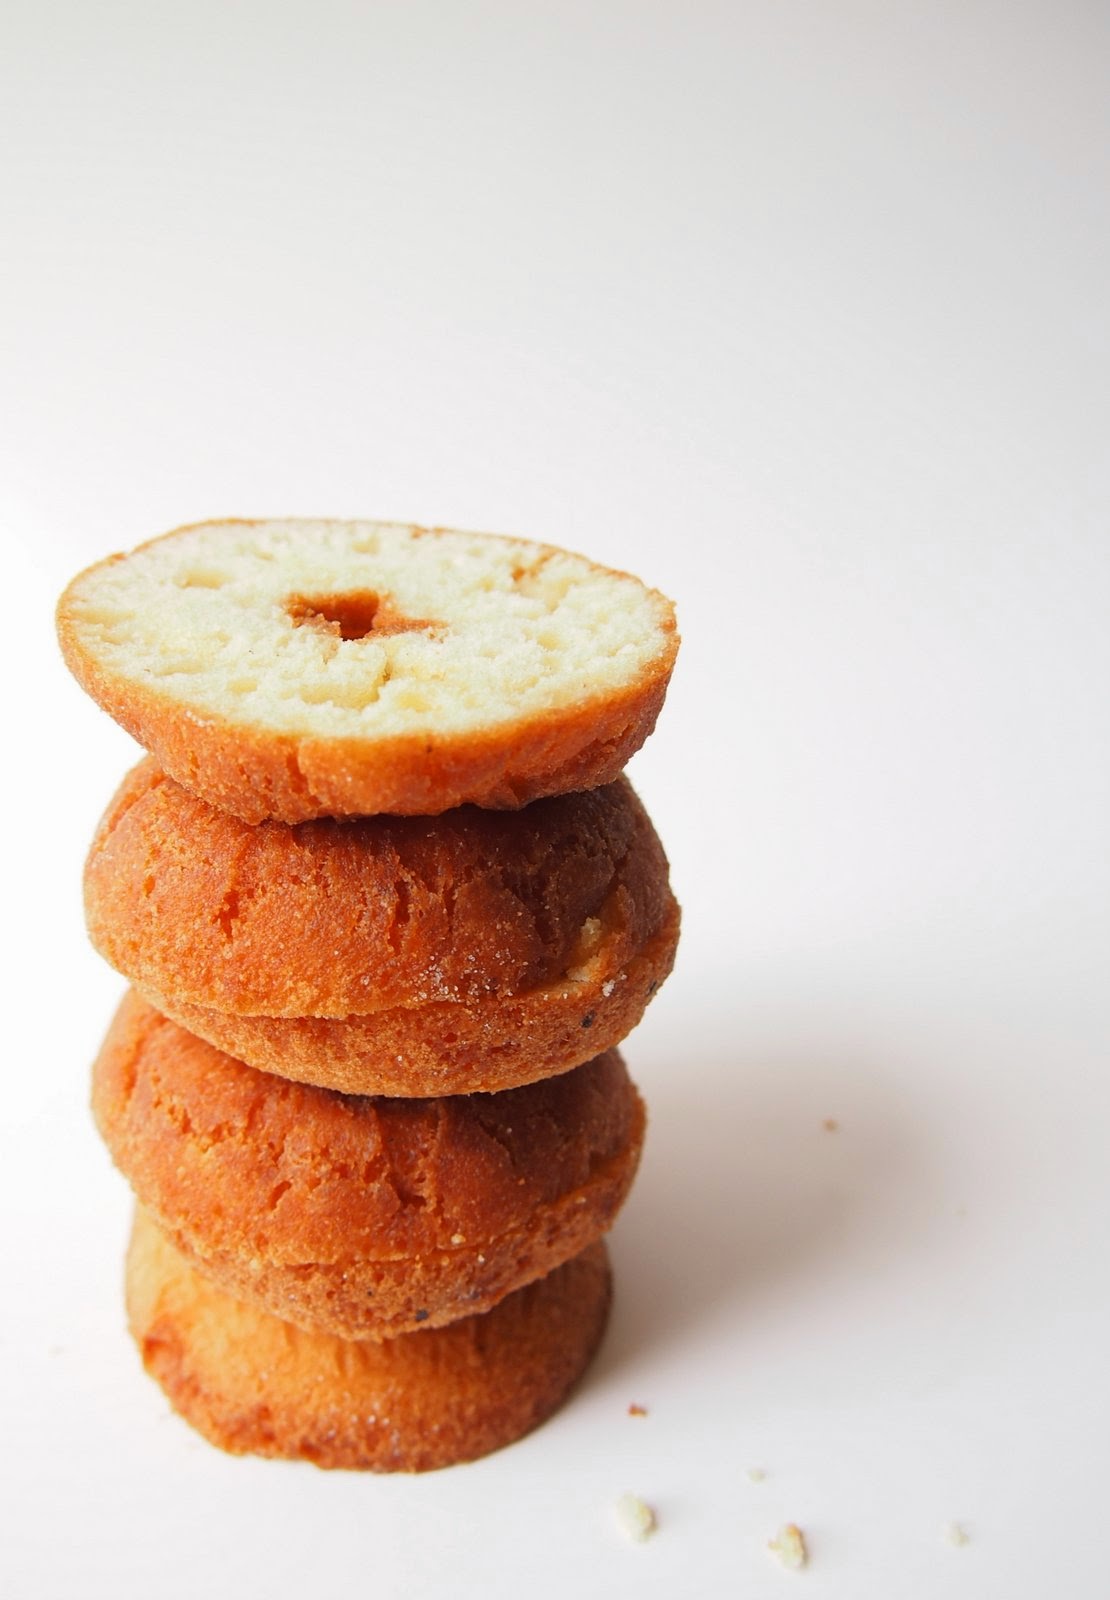
Practice stacking the doughnut halves with one flat half on the bottom and the other half up on top.
 Add the frosting - I layered it in red, white and blue but you do what ever you like.
 Put it in the refrigerator to set up for 15 minutes or so- it was 90 degrees in the kitchen when I made mine so it was pretty goopey.
Frost the outside.
Add sprinkles.


Lots of sprinkles.

Then break out the good Lego silverware.


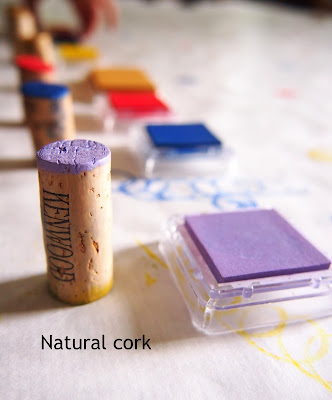 There are so many things you can print with- pretty much anything will make a print. For this project we needed fun wrapping paper- fast. And “confetti” is so:
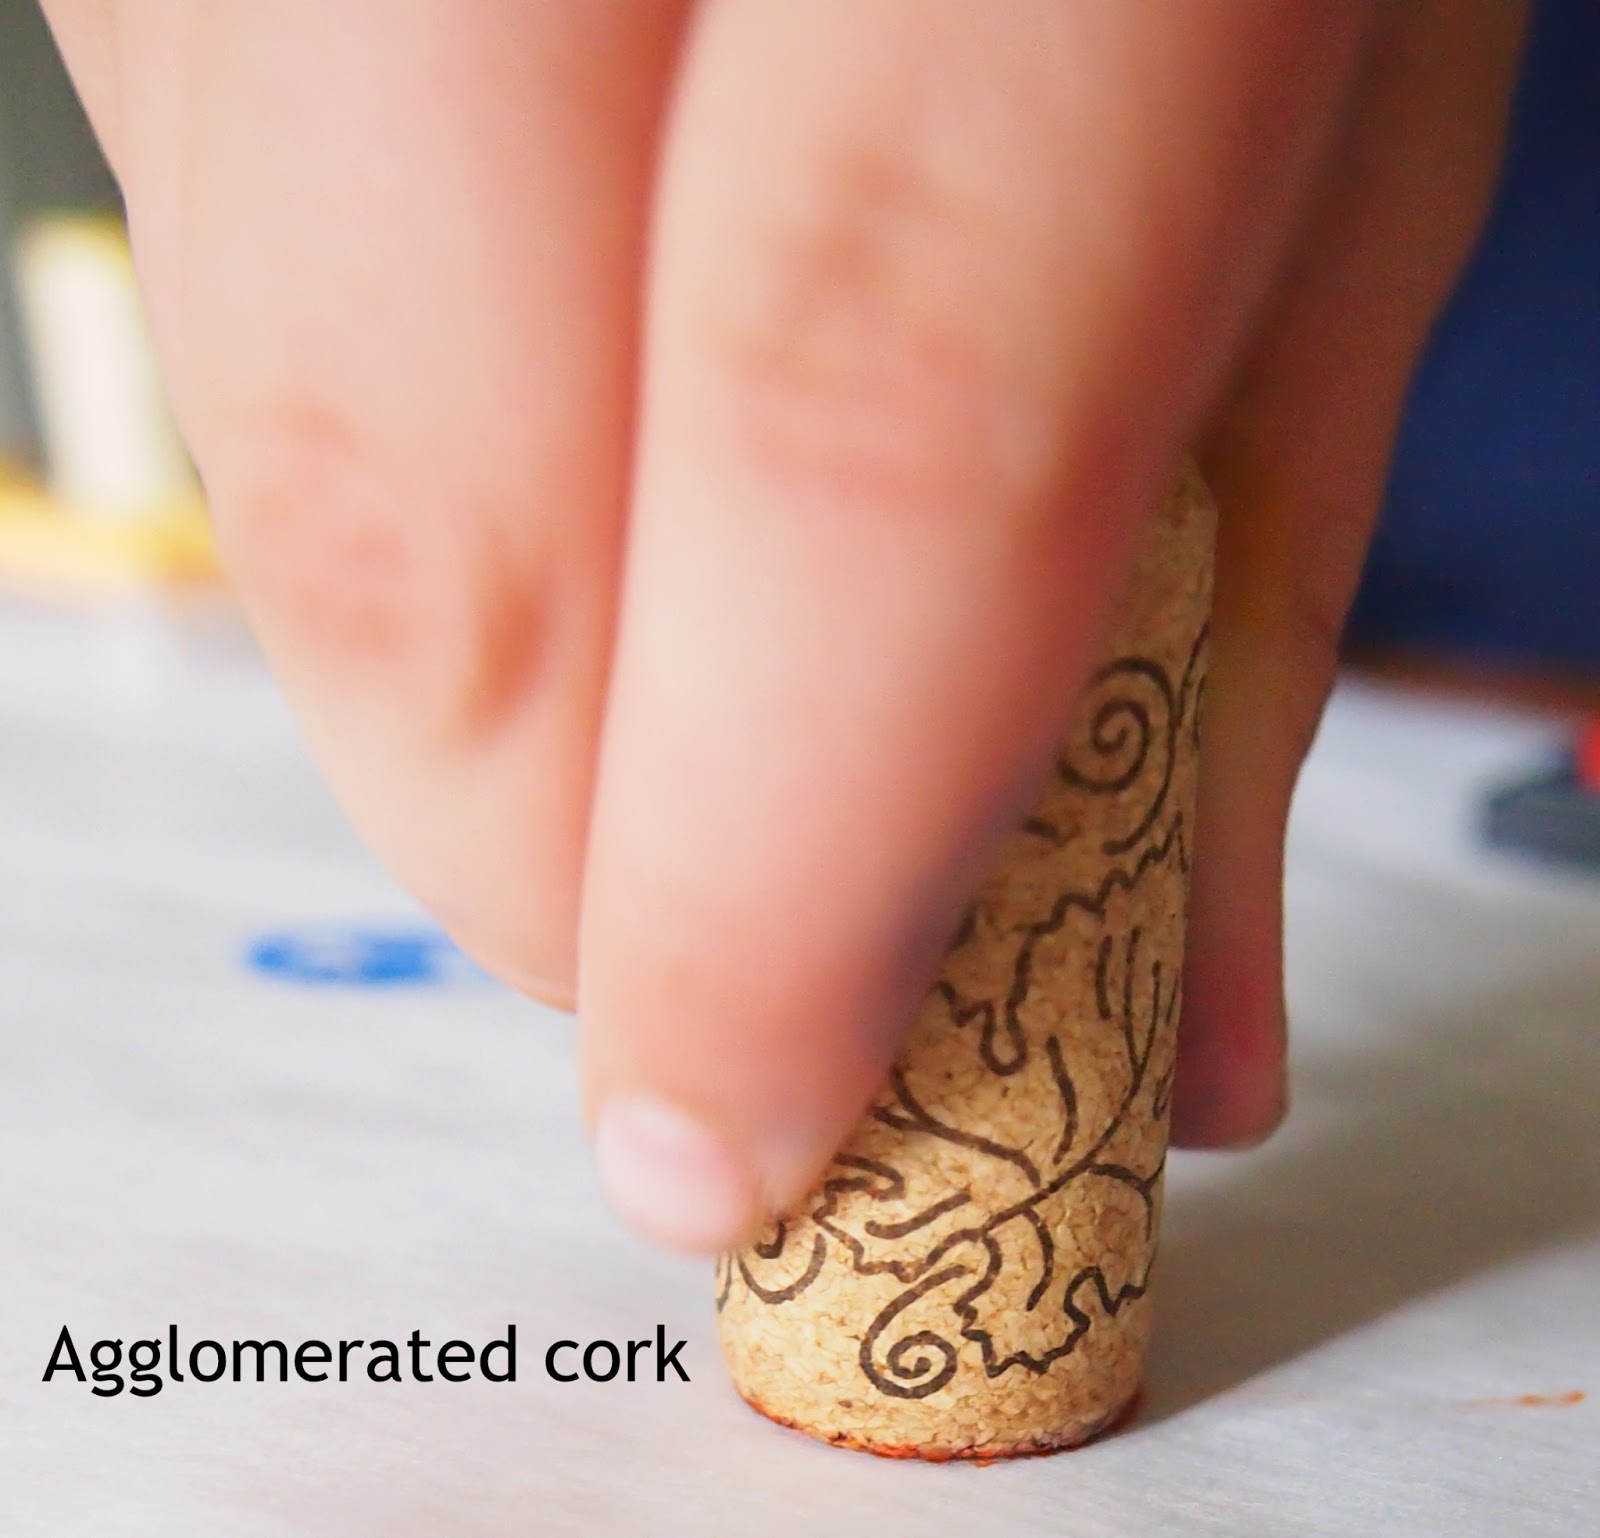


